
Section 6: Restoring the frame
Check the standards and metrics.
This usually involved a clean up of the frame internal and a measurement with a calliper. I bought two callipers - a manual one (not really fine enough - bought on the cheap in Portugal while on holiday) and finally a digital one (bought in Aldi Supermarket, locally and also cheap). The digital one was good.
- Remove bottom bracket and clean up the threads. Fairly easy - some WD40 on the threads and a rub out. Threads were good, French Standard, but first two or three each side were damaged (see 4:The CFX-10 arrives from eBay).
- Check seatpost dimension (agreed with 26.4mm as per specification in Peugeot website), check stem tube dimensions (22.0mm as per French standard), check derailleur hanger (Campag/Shimano standard - not Simplex).
Paint Touchup
This was the first real action which had to be done before anything else, and it should have been easy. But it wasn't. It took time to get started. The stages to be done were :
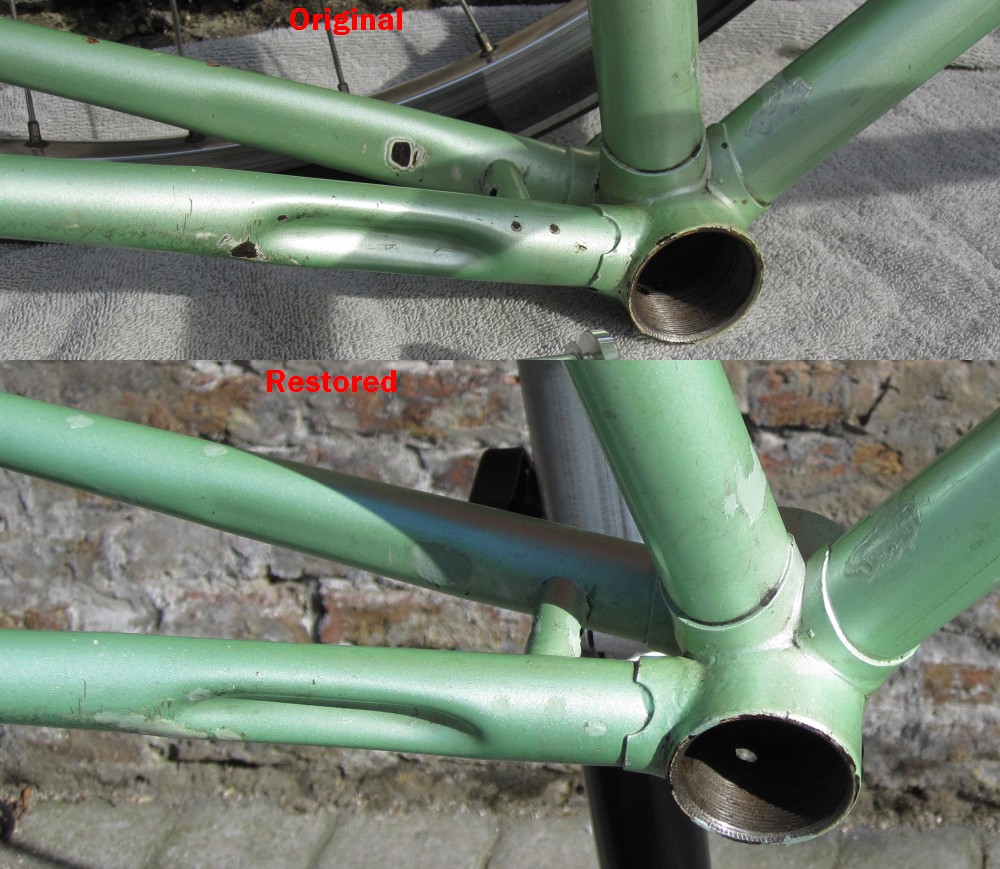
- Apply rust proofing to spots where paint had been scuffed/removed/chipped from frame. There were not too many of these, and the Peugeot frame had been factory treated with a rust proof "inoxidable" coating before original painting. The websites advise that this inoxidable coating had "patchy success" but in my frame's case it appeared to have been very successful. There was little rust to mention of, the only place where rust was really noticeable was at the bottom of the head tube (just above the bottom half of the headset). An application of Hammerite Kurust from the local Halford's (a bit like Naval Jelly - "turns rust into stable iron complexes") and can be painted directly over, this was applied to any spots of rust and/or bare metal.
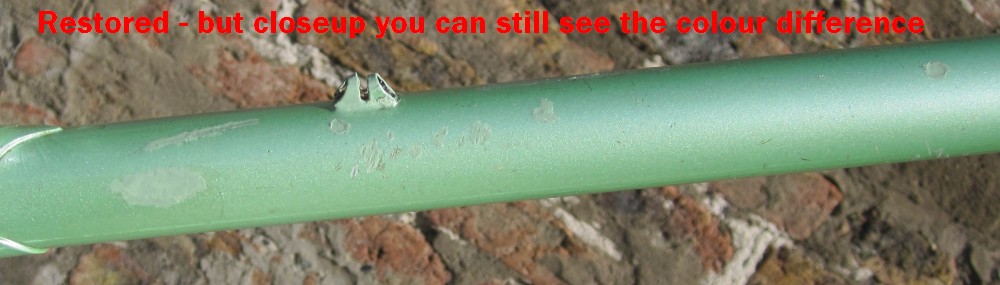
- Find colour matching colours and apply - this is where the delay started. The paint on the frame, being of the "pearlesence" type was going to prove challenging. I tried lots of paint types and colours and thought of trying some others as well. I finally used a mix of two green shades of Humbrol Acrylic Modelling Paint (trial and error to arrive at the mix), preceded by an undercoat of the lighter shade on its own. All finished off with a clear gloss coat. This was an approximation of the required colour - it was impossible to match the existing colour which changed according to the light falling on it. I forgot about my principle "Bike is for using not showing" for a period, but fortunately remembered it and went ahead with the approximation which meets my 5 foot rule.
- Various shades of green nail varnish : nothing that really looked good or approximated the required colour.
- Mixes of Humbrol metallic paint with shades of green gloss and green "glass" paint. In many cases these paints did not mix well together and in all cases they were nowhere near the required colour.
- Researched ready made car (auto) spray paints : there was great difficulty in determining the actual colour of the spray paints (I even took photos of my frame, printed them with various hues and trying to get a photographic colour which matched my exact frame colour - too many variations and none looked like the colour of the frame).
- I thought of approaching a car spray shop with a view to having them create a mix specifically for me, but remembered my principle of "Bike is for using not showing" in the nick of time. And then went with my own good enough solution as described above.
Decal/Transfer Repair
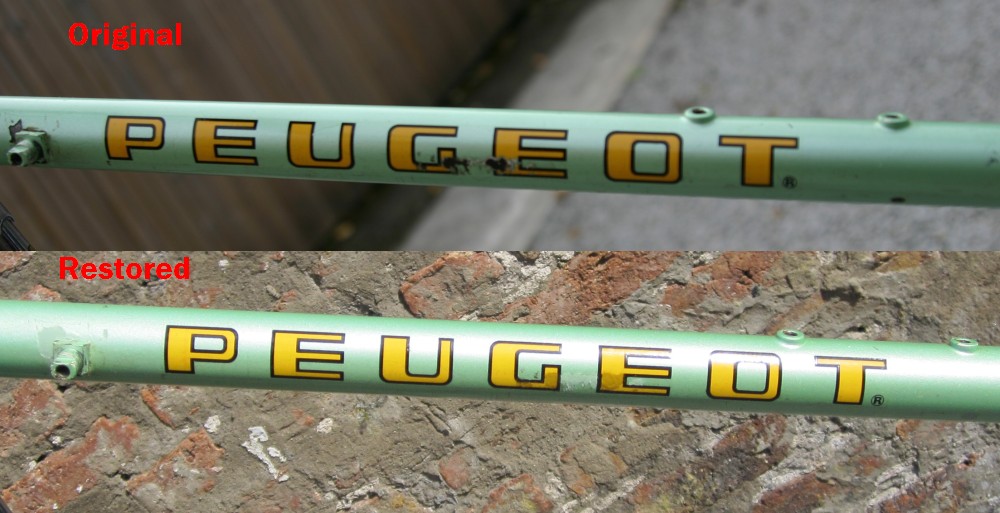
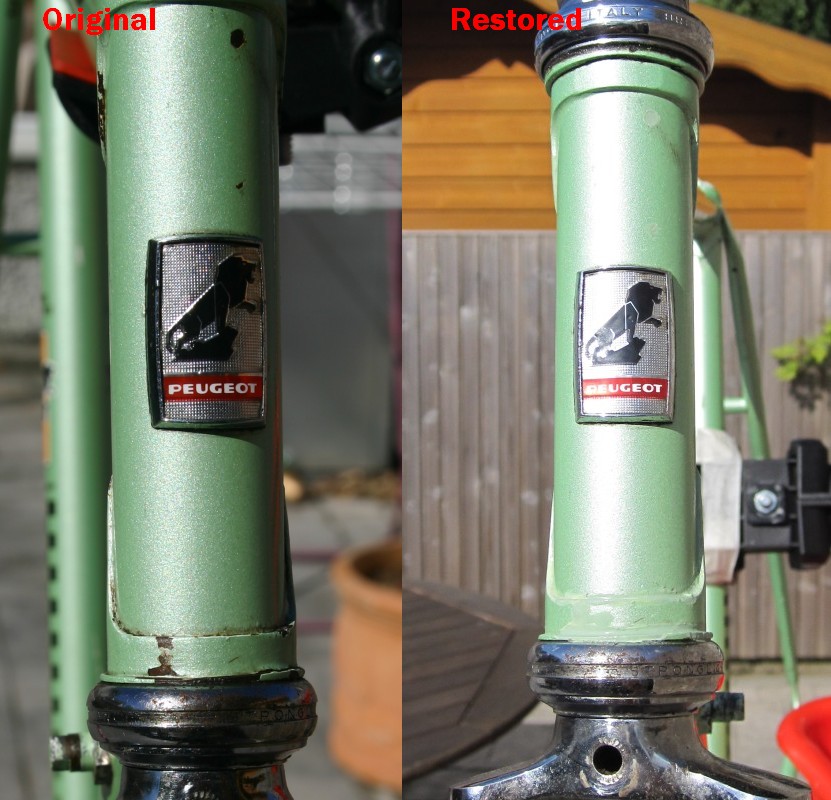
The decals were in really good condition, but there were a couple of scrapes/chips that had removed part of the decals (one particularly large in the PEUGEOT on the down tube). Even though these decals were really plastic film layered onto the paintwork, I decided that the easiest solution was to hand paint them. So, using some acrylic artistic paints (Ochre and Black) I simply painted (freehand) the missing areas. Simple. Then I used the same clear gloss coat that I used on the frame paint touchups to weatherproof the job. I was really pleased with the simplicity, speed of application, and end result of this solution. A final coat of car wax brought everything up good and shiny.
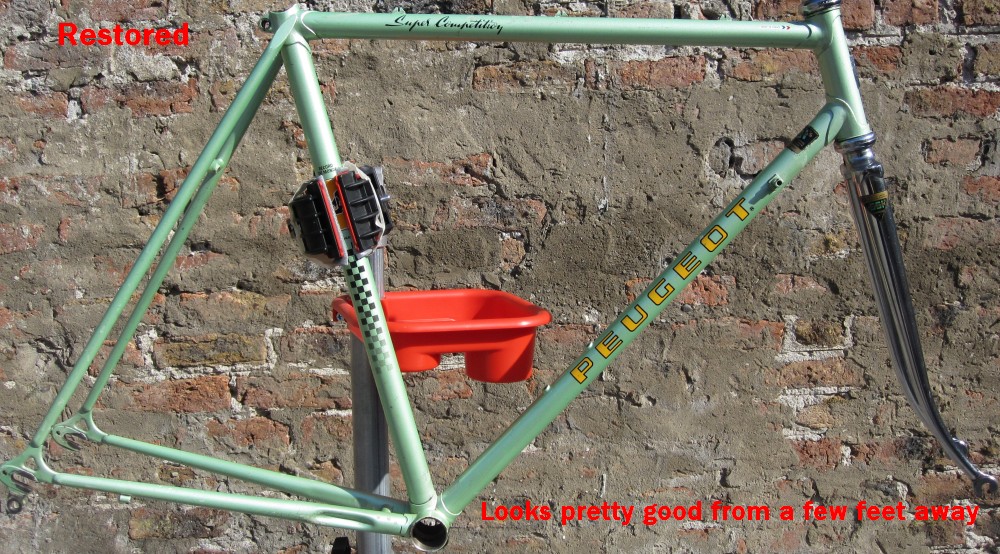
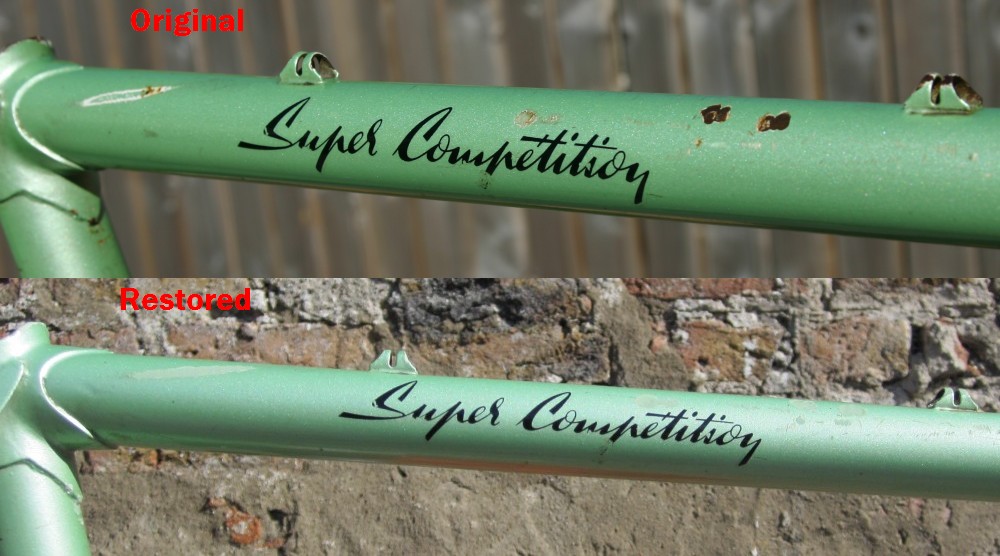
The overall frame - how it looks according to my 'five foot principle'
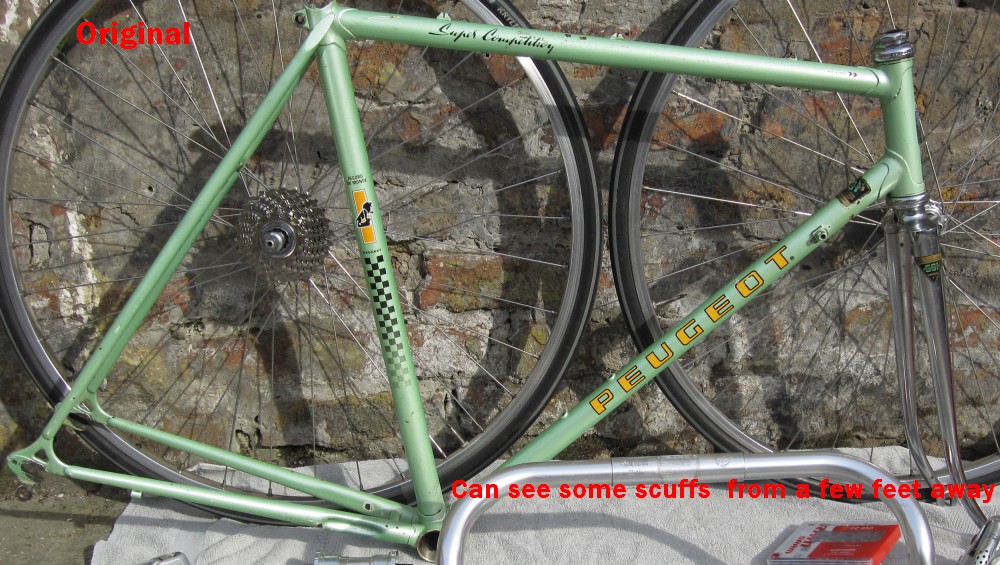
Some closeups directly comparing different parts of the frame
And just to show you that it is not perfect but 'good enough'
Contact me by email : alan_cowzer@hotmail.com
Contact me through Facebook : My Peugeot CFX-10 Facebook Page
© 2018- 2026 Alan Cowzer