
Section 8: The Velo Orange Threadless BB
For an excellent review of how this threadless bottom bracket works and fits, see this Blog Post Here (Note that the BB I bought is all silver (no outlandish colours) and for fitting it accepts a Shimano Hollowtech BB tool, so it seems some of the recommendations in the review have been taken on board by Velo Orange
Note that the review states the BB is fitted using a specific single pin tool (and old style tool), however mine required a Shimano Hollowtech External BB Tool, a much better solution, and a design improvement, and a readily available tool.
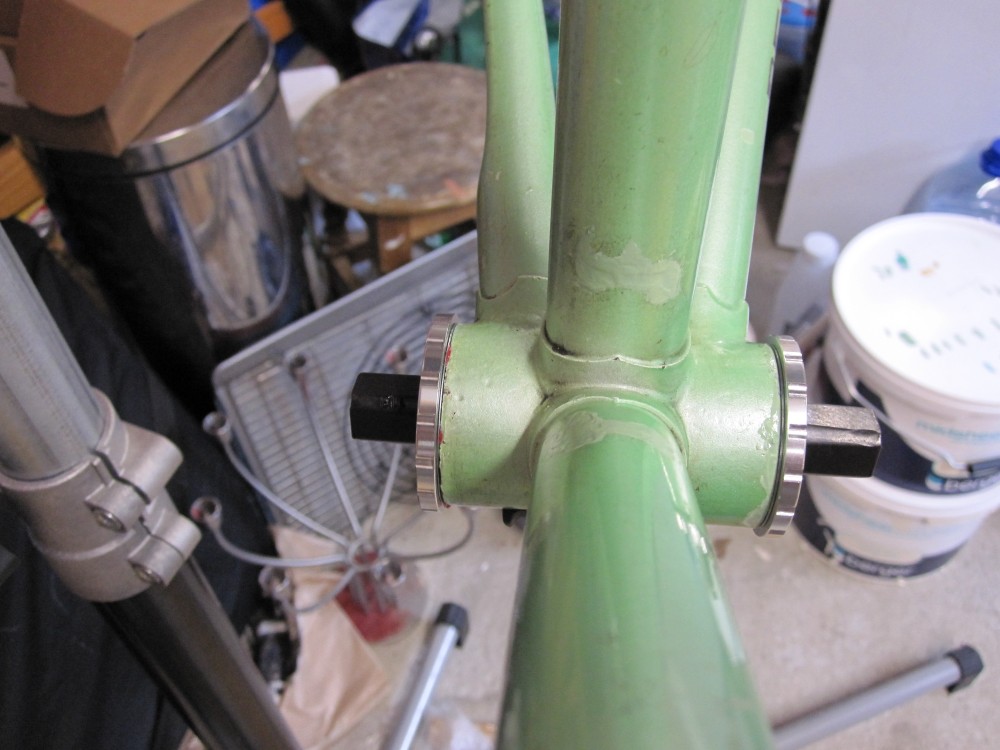
With the frame painting out of the way I could start fitting the components and the one to start with was the Bottom Bracket. This was the component that decided much of the others (and determined that I would not pursue my goal of loads of Campag parts). So, I had built a lot around this item fitting and working. Threadless BB seemed, to me anyway, a bit of a risk - but the lesser of the risks associated with the other options all of which required some further "interference" with the frame and possible further damage to it.
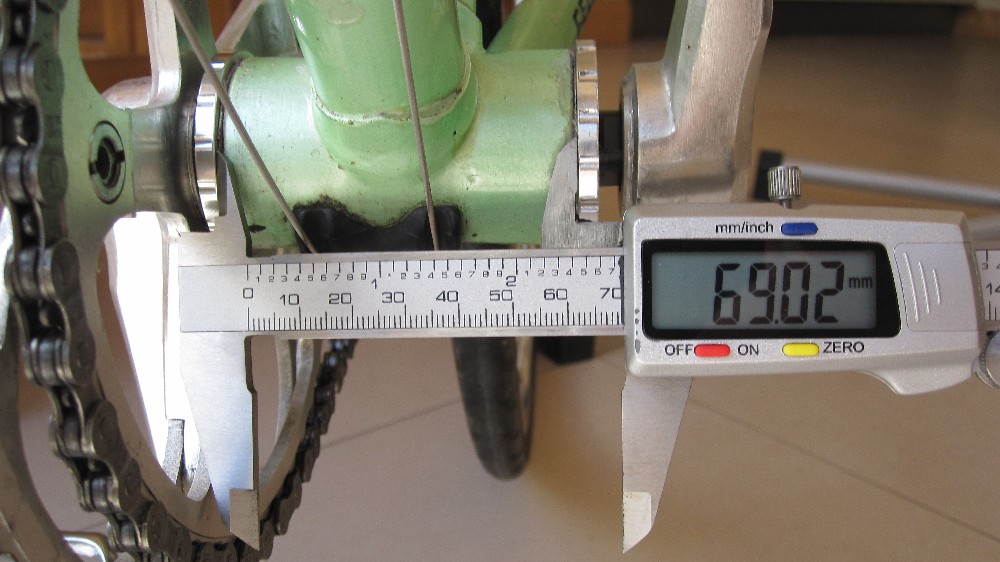
My big fear was that the BB would, when tight, be protruding either side of the BB shell. I understand that it should "go tight" just before it touches the sides of the BB shell (and protrude a minimal amount). I was concerned that it would protrude too much and maybe interfere with the chainset.
In the event, the opposite was the case. I followed the advice given in the review of the Velo Orange BB. And the whole thing went in so easily and tightened up very snug to the BB shell sides - no protusions from either end. Only when I tried to spin the axle/spindle did I realise that the spindle was stuck - it appeared that rather than tightening against the threads of the BB shell, the ends of the BB had tightened against the ends of the BB shell and in so doing had squeezed up against the bearings and seized them. A half turn of the lockring to loosen it, freed up the bearings and everything was fine. Went to bed happy that day.
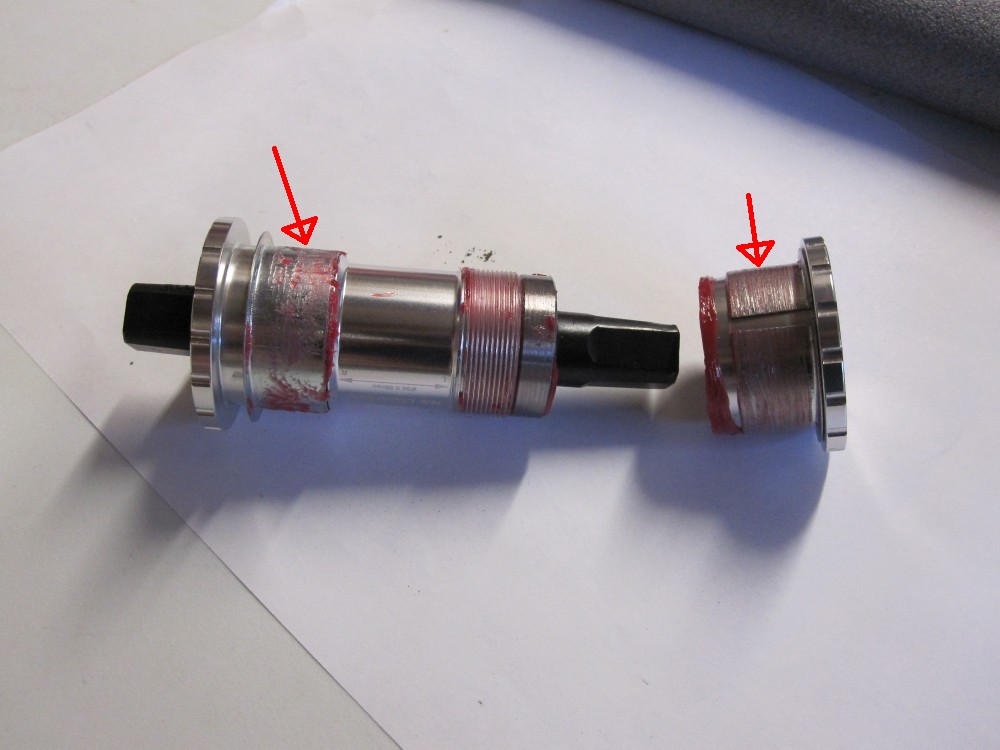
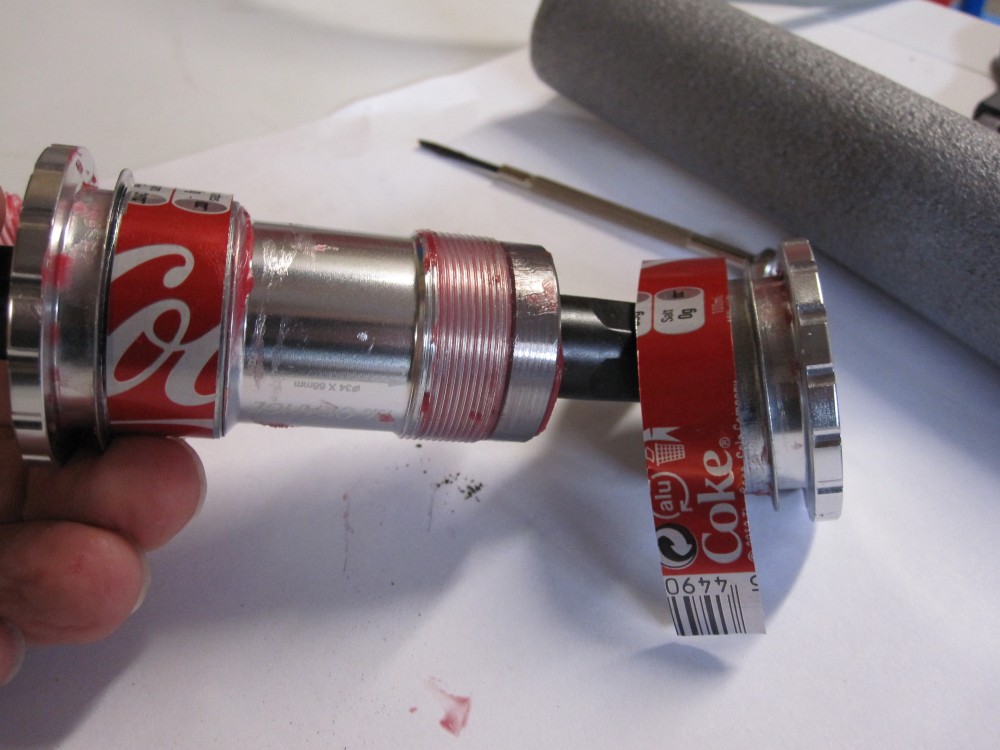
But then I woke up during the night and had my doubts. The last thing you need on a bike is a loose BB, and if I had to loosen it by a half turn to allow the spindle to rotate freely, then it was not tight to the BB shell. So, I decided to remove it and pack between the shims of the BB and the shell - I decided for packing material to use a strip of aluminium cut from a coke can (very thin or so I thought) and wrapped around the shim. But it wasn't thin enough. With the extra shim width I could not get the BB inserted far enough.
As a further modification, I split the coke strip into smaller sections and inserted two at one end and three from the other, between the shims and the threads, to partially reduce the gap between shims and threads. See the photos and you'll understand this process. This time, I got a tight fit before the BB spindle was jammed. This is the version that I hope to ride and see if it stands the test of time (or of the first short cycle). Will report on, or answer any interested queries, in the meantime.
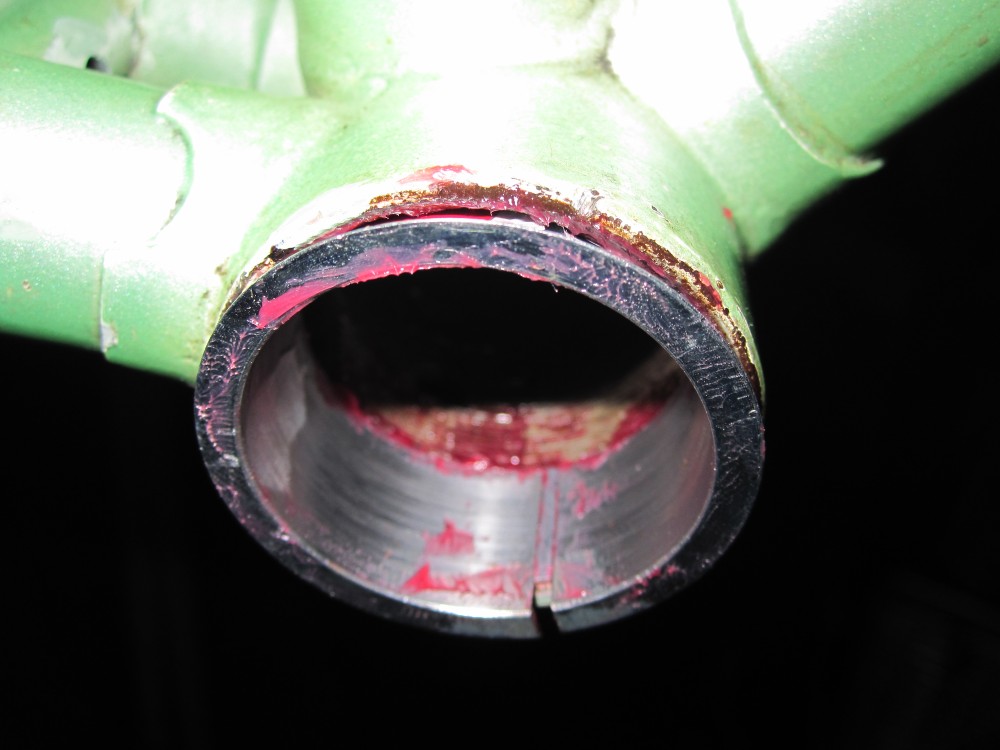
The reason, as I see it, why the standard method did not work on my bike is the first three threads from either side of the BB shell are missing, this means the inside diameter of the shell is larger here than elsewhere and I think this is where the Velo Orange BB binds on a standard BB shell. From looking at my attempts to fit the BB, I believe it would have worked first time if the edges of my BB shell had not been "camfered" by a previous owner.
The process of fitting the Velo Orange Bottom Bracket
Oh! Oh!
After two cycles in 2015, my BB practically fell appart. I had done a 75km, slow but hilly cycle with some friends where I had attacked hard on a few hills, just to make the cycle tougher. Then followed it up with a 50km cycle, where the first 15km was on my own and hard/fast, and the remainder was in the company of my wife and a friend and was easy, except for the fact that I took one climb very, very, hard (I got a Garmin and was trying a Strava segment for a bit of craic). before I got home my BB almost seperated and I was in real trouble - needed to get a lift home to prevent more damage.
It turned out that the BB was not tight enough when I installed it the first time, and had worked loose probably from the more agressive cycling. I suspected that my coke can strips were not a good idea. So I needed another solution. I stripped down the crank & BB and considered other possibilities - even enquiring on a Facebook Group that I participate in (actually most of the advice was to find another BB solution which involved threads - rethreading the shell etc).
However, being a bit stubborn and not wanting to invest money in a different solution, and the fact that I do have the time to try and find a solution - and I do like a problem to solve, I decided to try again with a different packing between the BB and the BB shell.
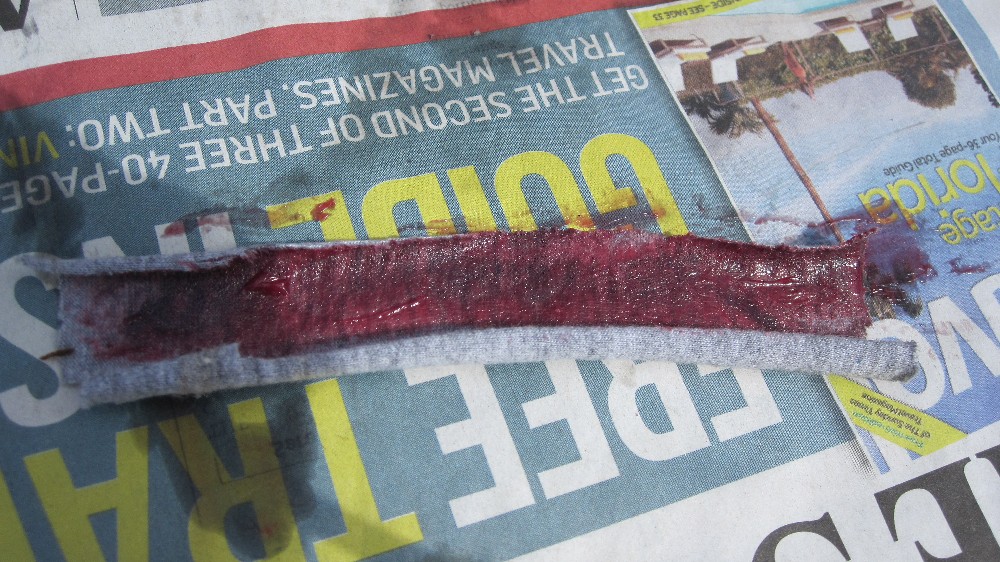
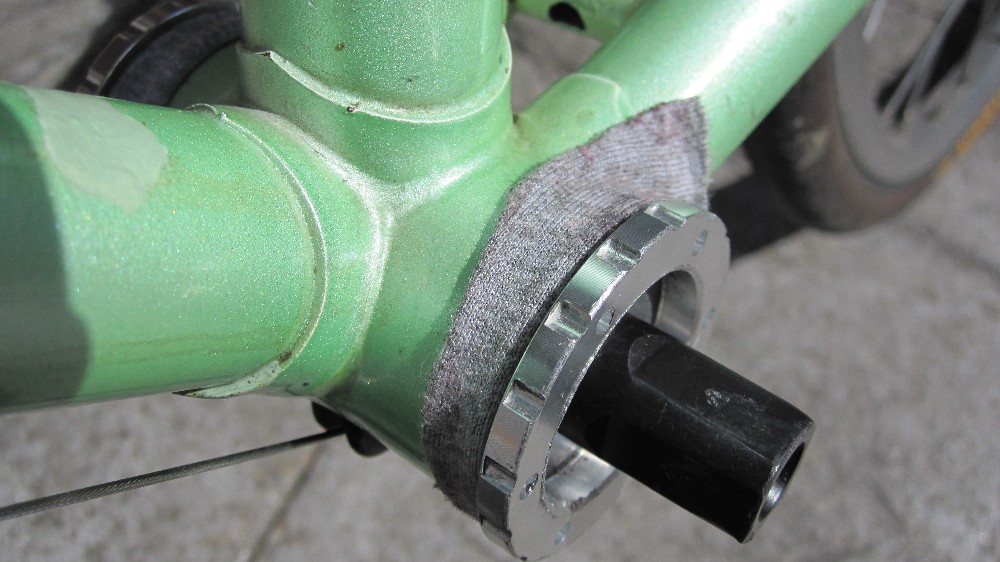
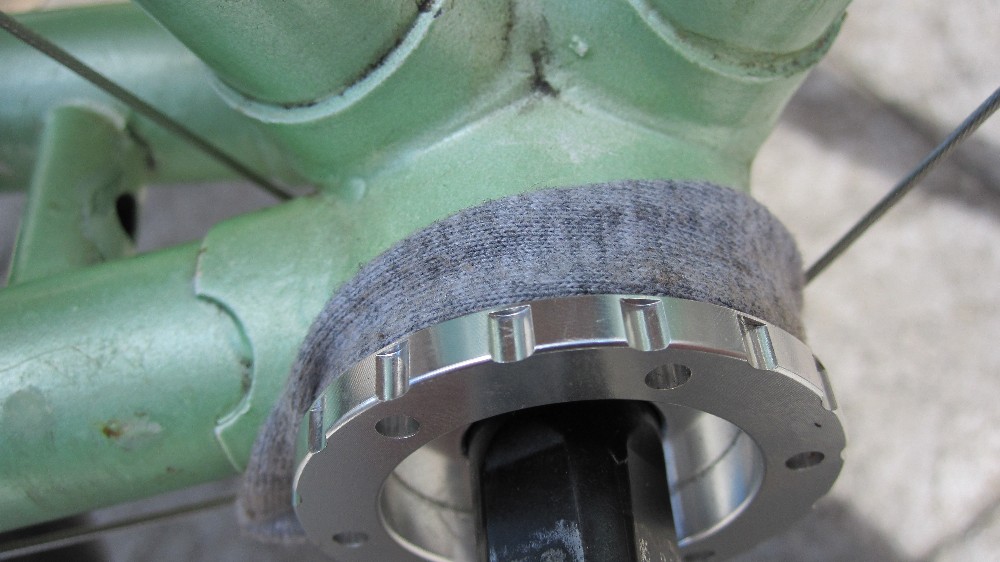
I surmised that the coke can strips (3 on one side of the BB, and 2 on the other) only allowed the BB to tighten to the shell in 2 and 3 spots. If I could find a slim enough material, I could put it around the circumference and the BB would tighten to the shell all the way round. The only material I could think of was a cloth like material - any other which did not involve a weave would likely get "sliced" between the smooth BB sliding taper and the ridges on the BB shell threads (the remnants of the coke can strips indicated that some of them had be sliced).
I considered lots of materials, but it had to be very thin, otherwise with it wrapped around the circumference it would not allow the BB to be pushed in far enough for the two halves to engage the threads and tighten, in the end I used material from an old (cheap/thin) tee shirt that I had lying around.
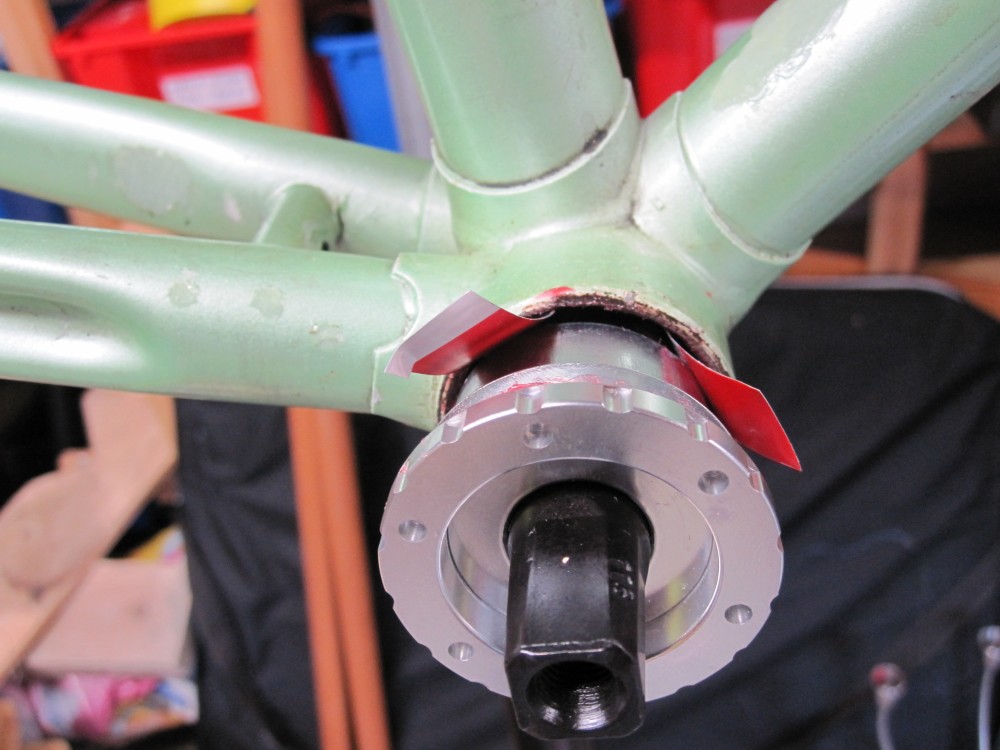
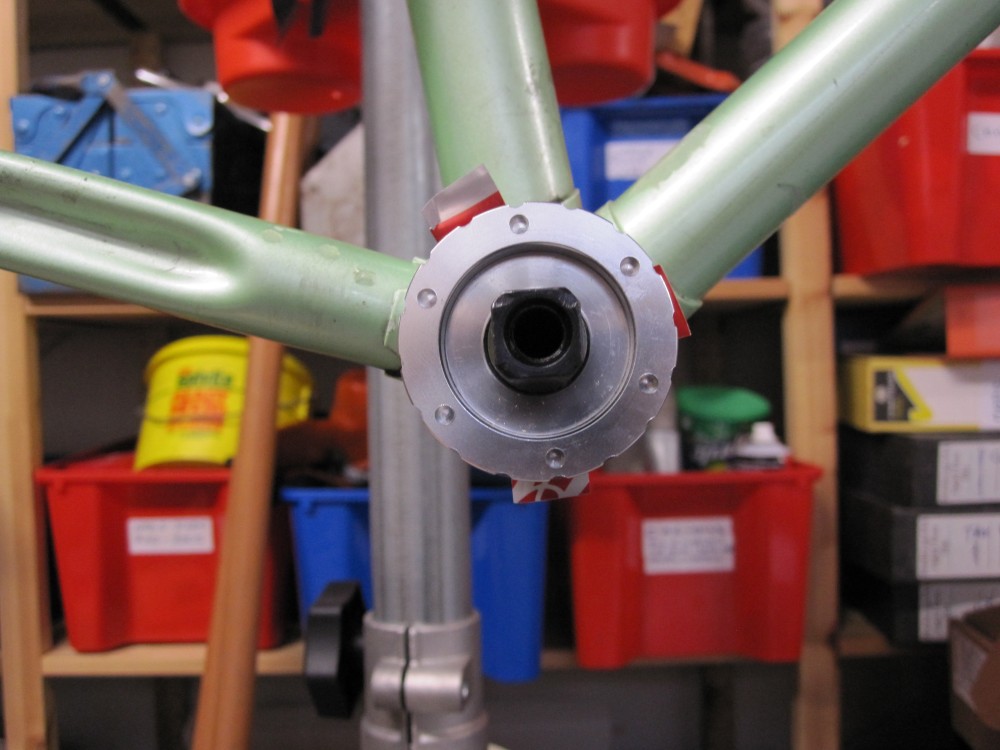
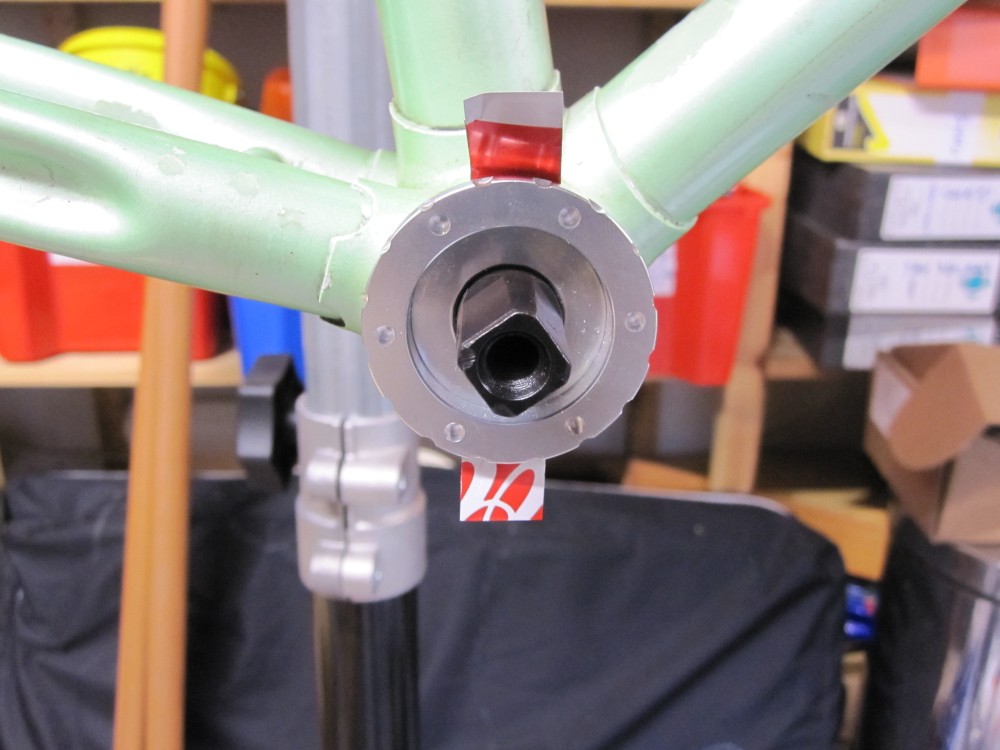
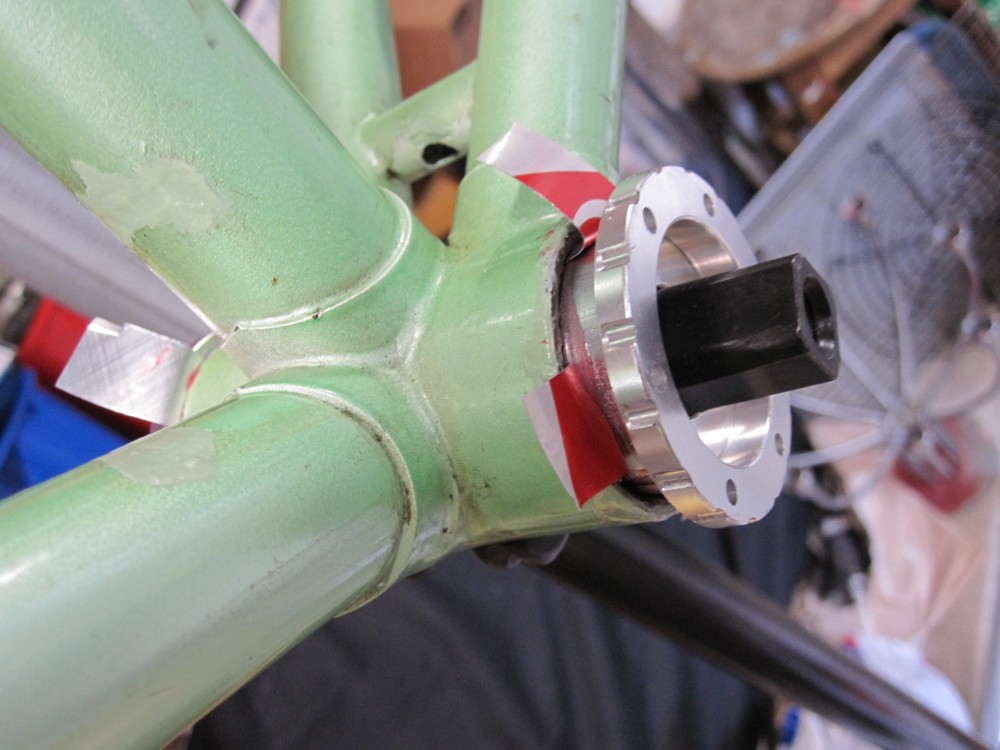
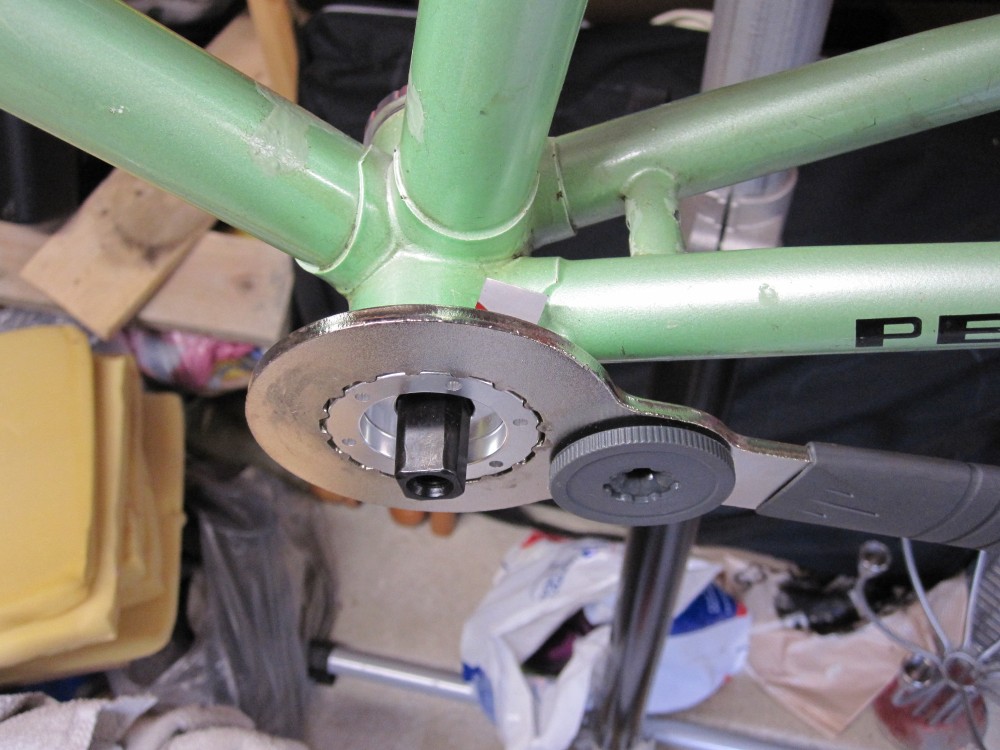
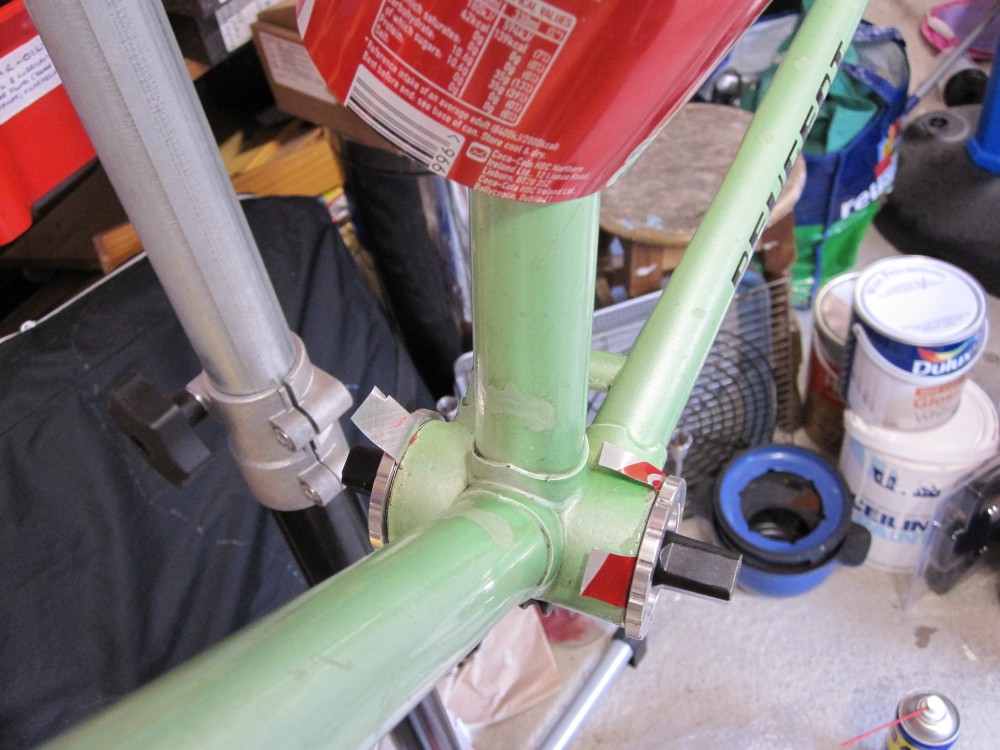
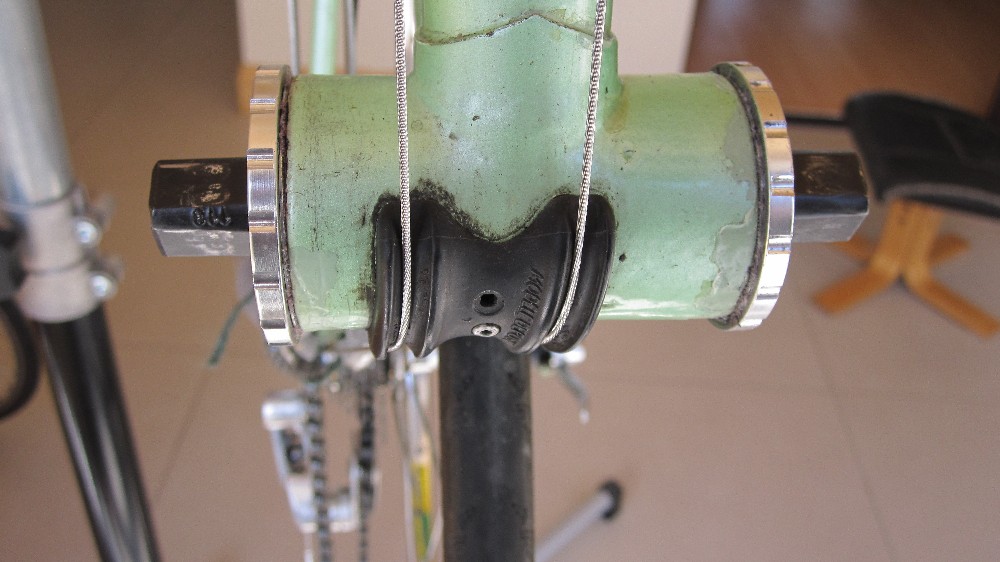
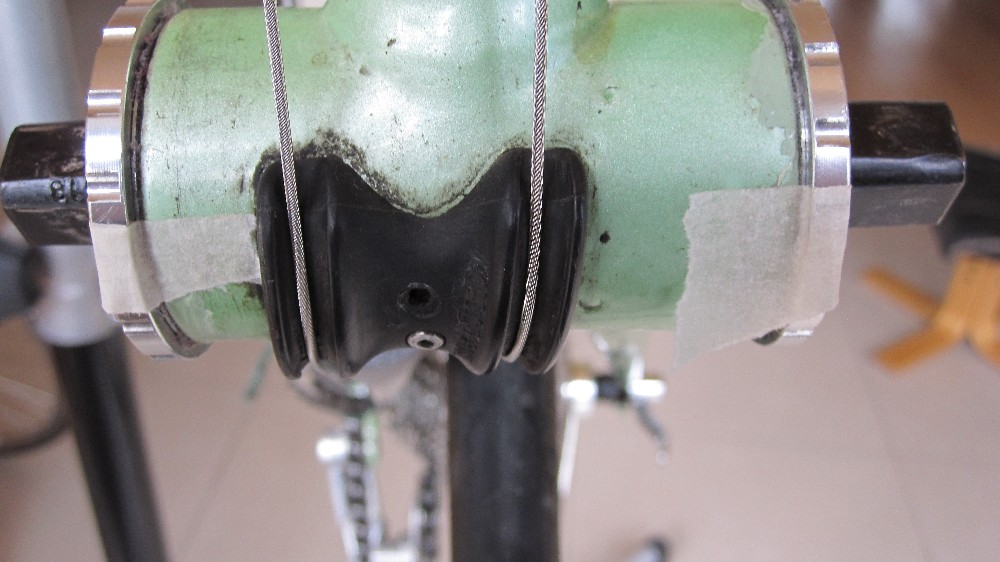
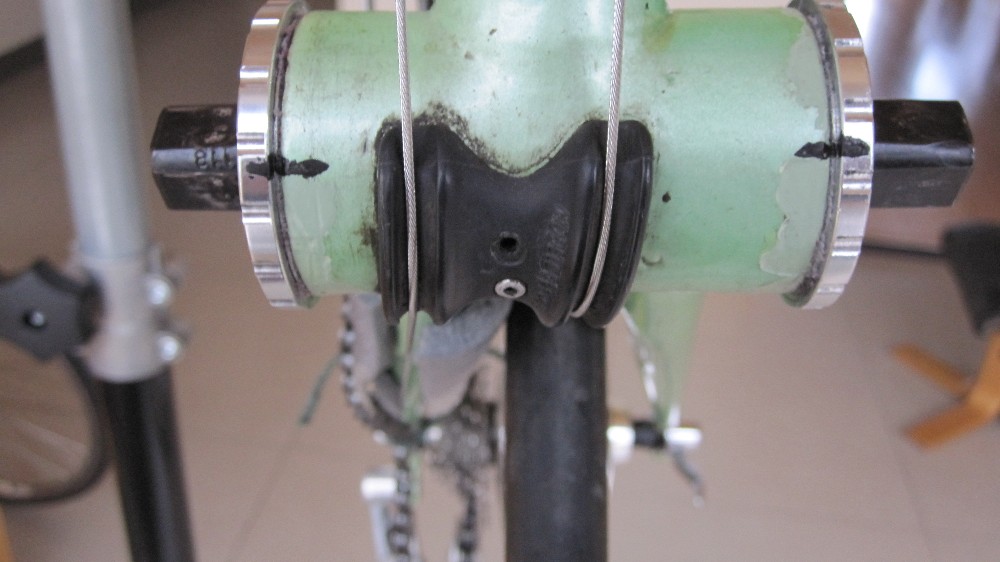
The photos below show a timeline for reinserting and tightening the BB for it's second attempt. Between Image 3 and 4 there are a few missing steps. Due to my enthusiasm to complete the job, I forgot to take photos, so here is a description of the missing bits.
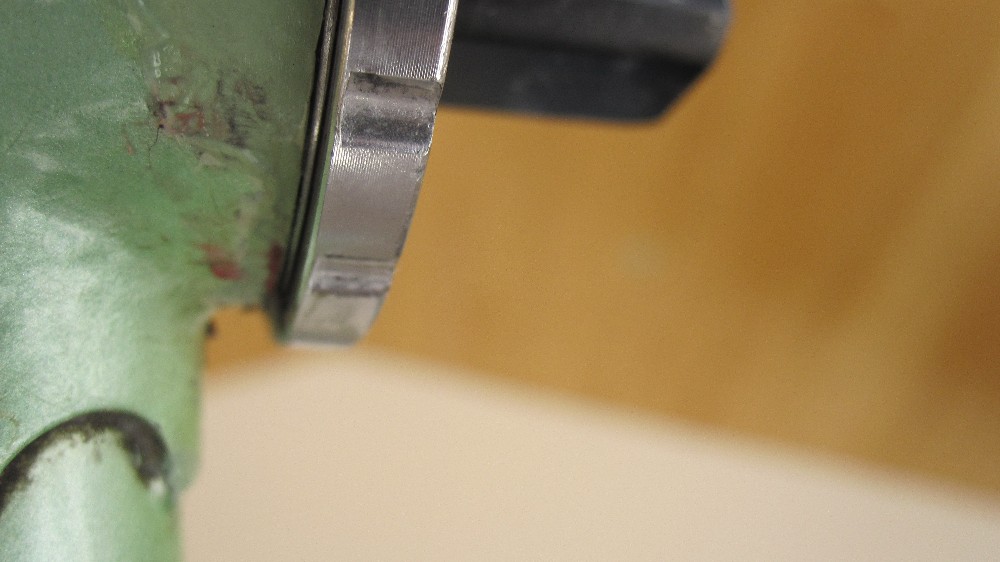
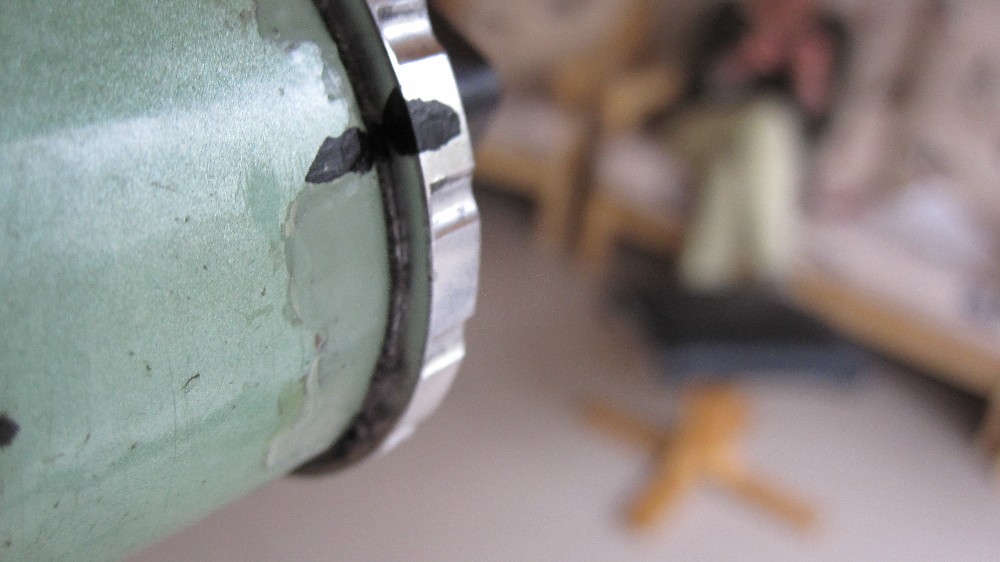
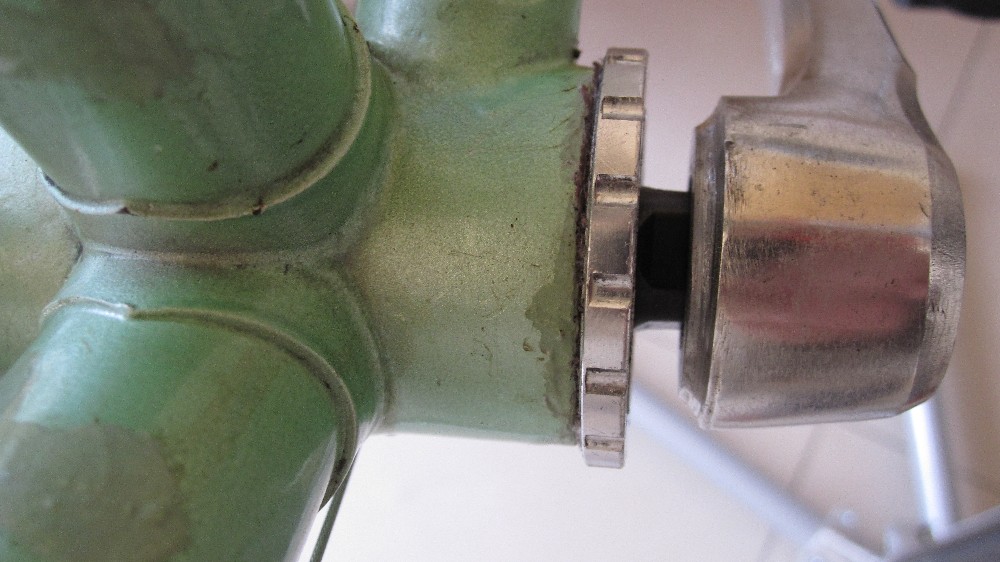
Once greased, the strips were inserted in the BB with the grease against the BB Shell threads, and pushed into contact. Then the BB was inserted, but the sliding collars were wedged (with a few flat spanners) so that they did not slide up the tapers (i.e. they stayed narrow) and the BB was pushed in until the flange of the sliding collar was flush with the edge of the BB shell. Then the other side/half of the BB was inserted in the same fashion until the threads of both halves could engage and the two were hand tightened - all the while ensuring that the sliding collars were wedged to keep them narrow, until the flange on both sliding collars were flush with the edges of the BB shell. Then everything was tightened with teh Shimano Hollowtech BB tool until very tight. The trick (hope) here was to get the BB to go "tight" while there was still a small gap between the raised flange and the edge of the BB shell. Without any gap it would mean that the BB only tightened because the raised edge tightened to teh edge of the BB shell. With a gap, then the BB would have tightened because the sliding collars on the tapered ends of teh BB had expanded to bind against the circumference of the BB shell - as designed. It all depended on the thickness of the packing material.
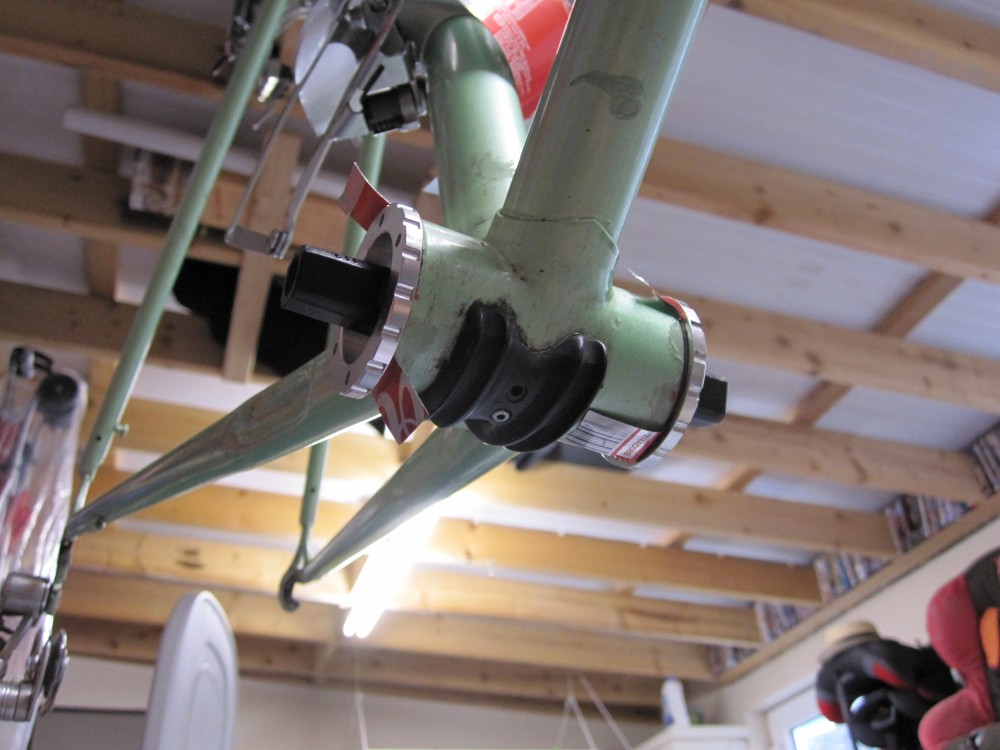
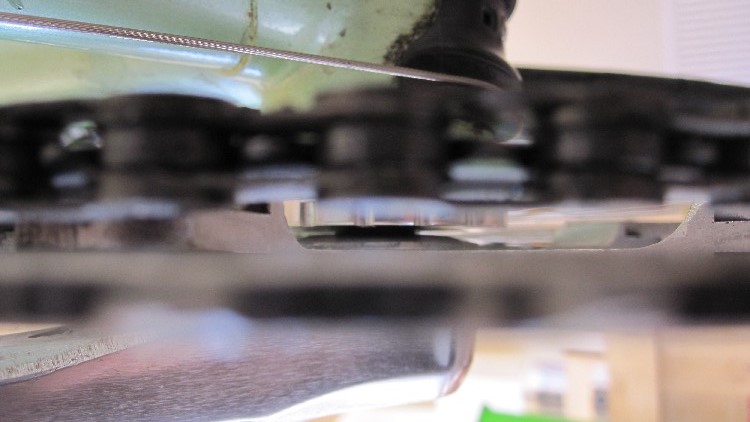
Finally, this solution is different from the previous solution in one important feature - IT ANTICIPATES FAILURE. The last solution, I expected to work, this one I expect to fail. So, I have placed check marks on the BB and Shell which will highlight any slight movement between the BB and the Shell - this will indicate a failure of the solution, hopefully before it falls apart on the road. All I have to do is make a habit of inspecting the check marks after every cycle.
My second solution of the Velo Orange Bottom Bracket


Contact me by email : alan_cowzer@hotmail.com
Contact me through Facebook : My Peugeot CFX-10 Facebook Page
© 2018- 2026 Alan Cowzer