
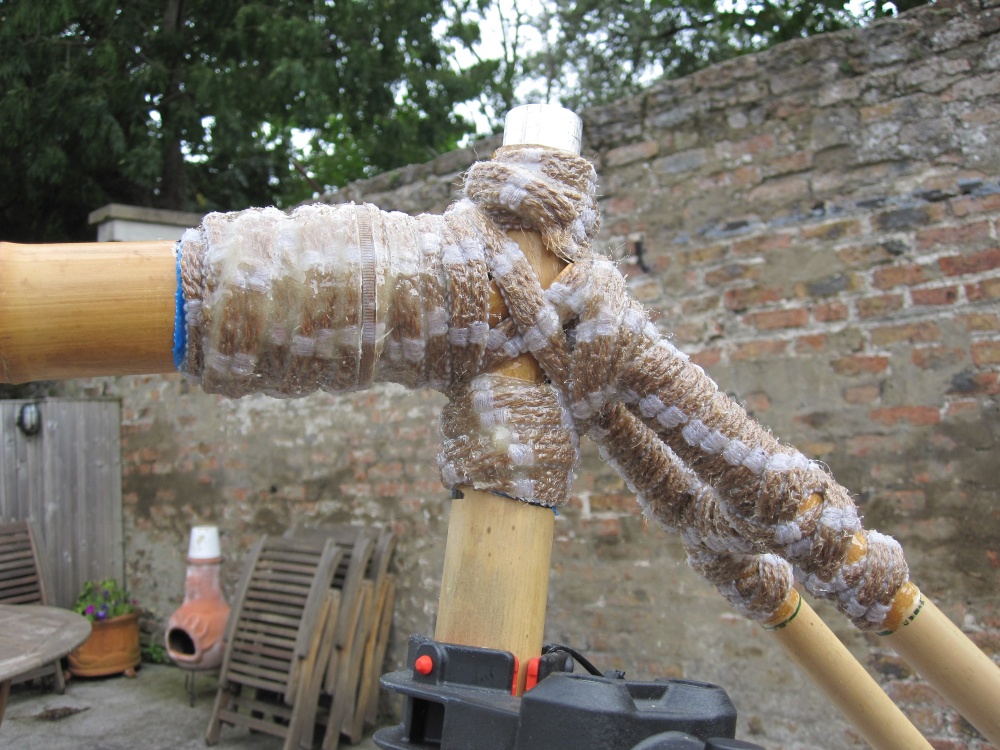
Section 3. The Completed Frame
The Completed Frame...after 3 days
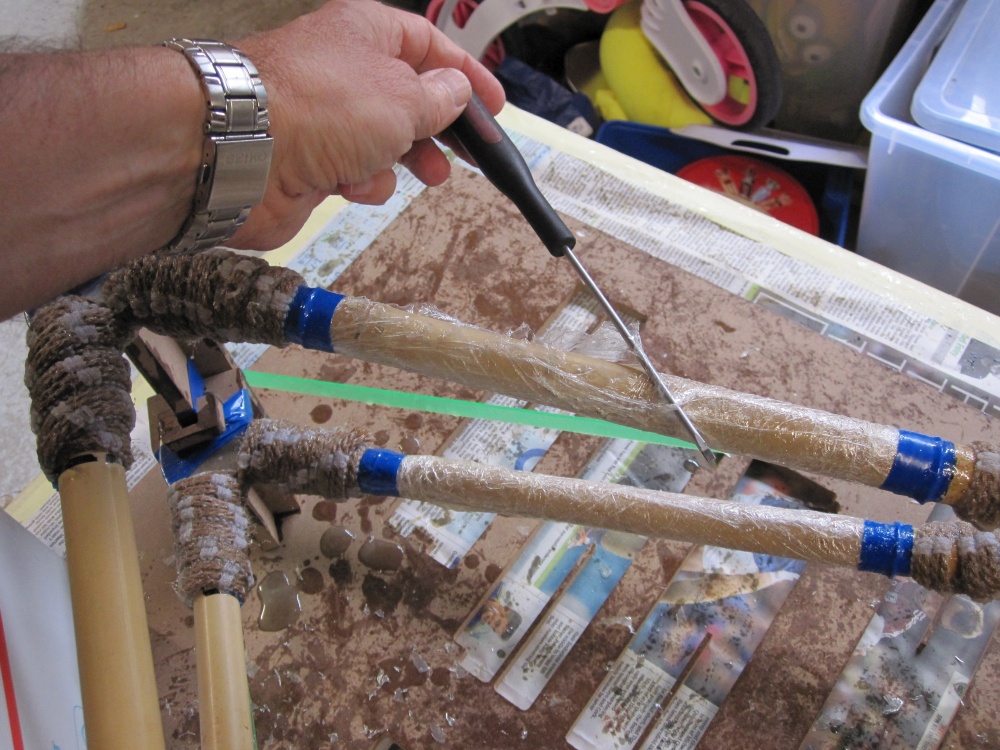
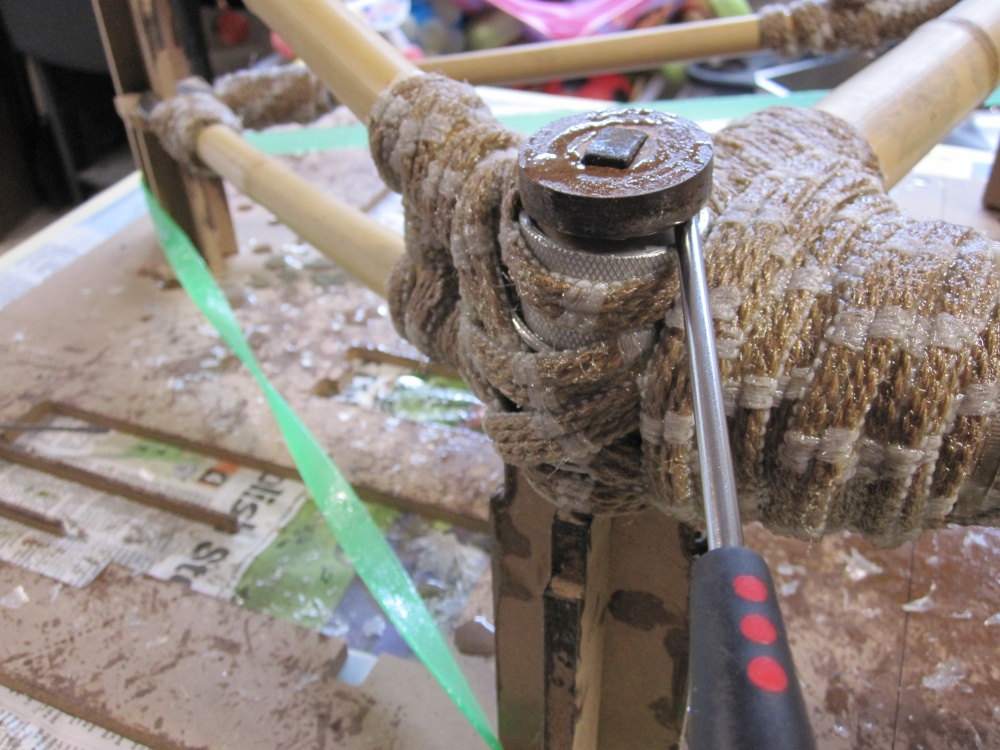
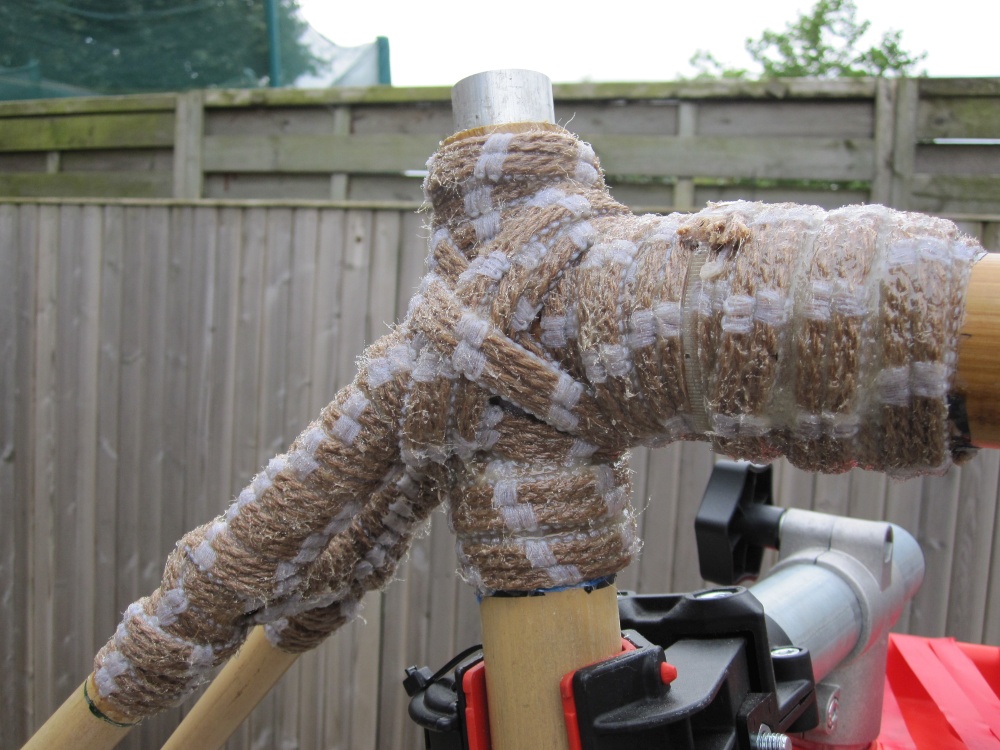
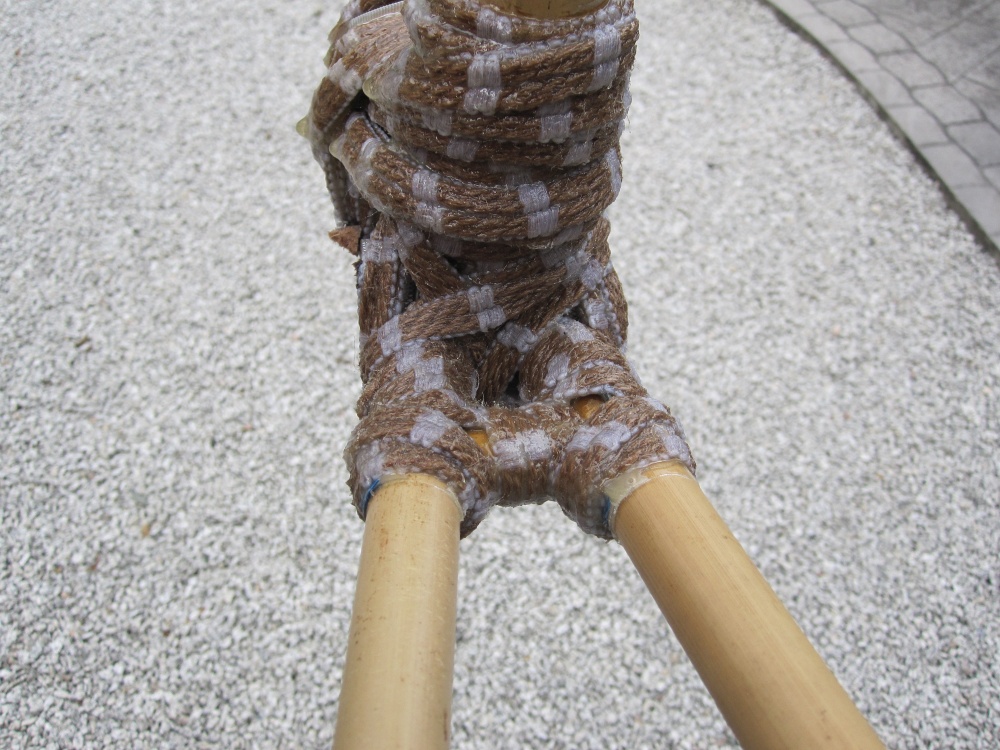
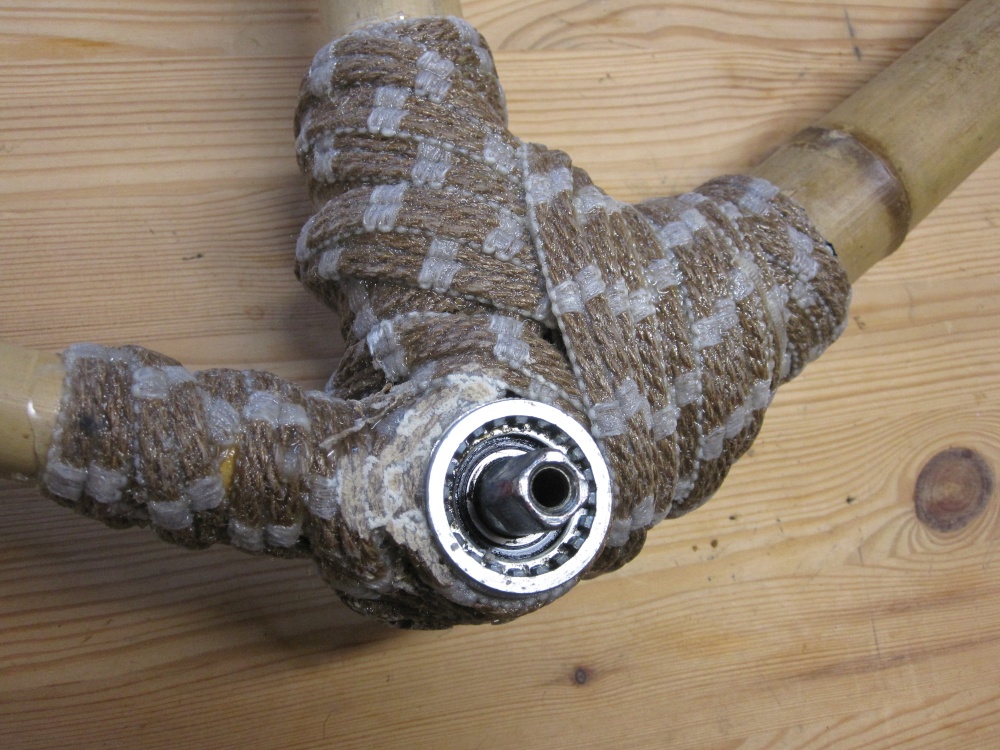
After 3 days everything was set hard enough to remove the frame and checkout a few things. The cable ties that held the hemp rope in place while wet were removed after a few hours (before the epoxy set real hard) but everything else was left intact. Three days is a long time to wait to see how things turned out but....needs must. A little bit of force was required to get things apart. I decided that I wasn't going to try and use the frame jig again, so I could be destructive with the jig and that was a useful decision. The jig is now in pieces and in the bin. First impressions of the frame is that it feels like any other - thats a great thing. There is no feeling of weakness, flexibility, or other scary bits - in fact the word "solidity" springs to mind. It is not light, but it feels real solid and rigid. Even the marrowest tubes (the seat and chain stays) have a very reassuring "knock" when tapped, and all joints are rock solid. Looking good. True, one side looks better than the other, but that is appearances rather than anything else.
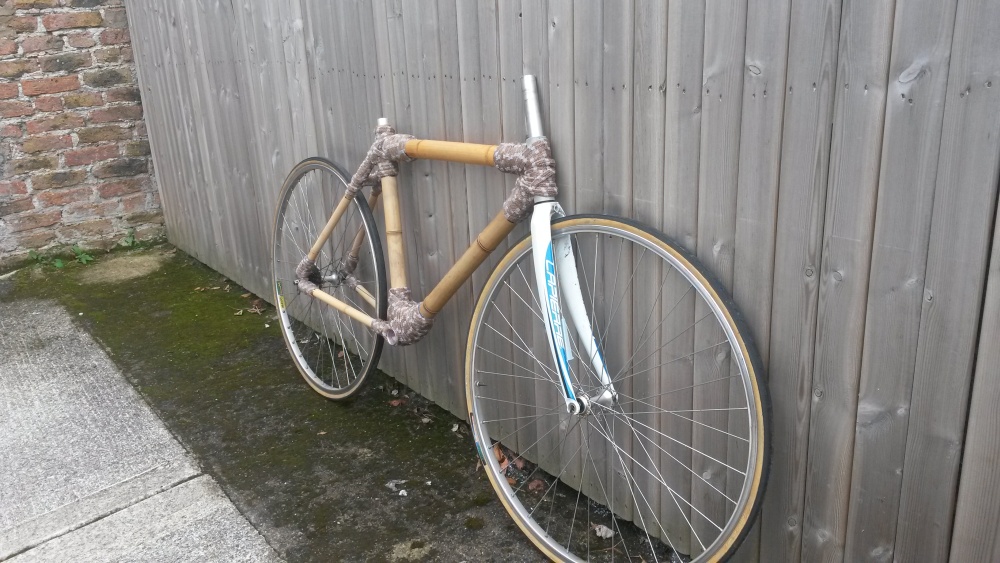
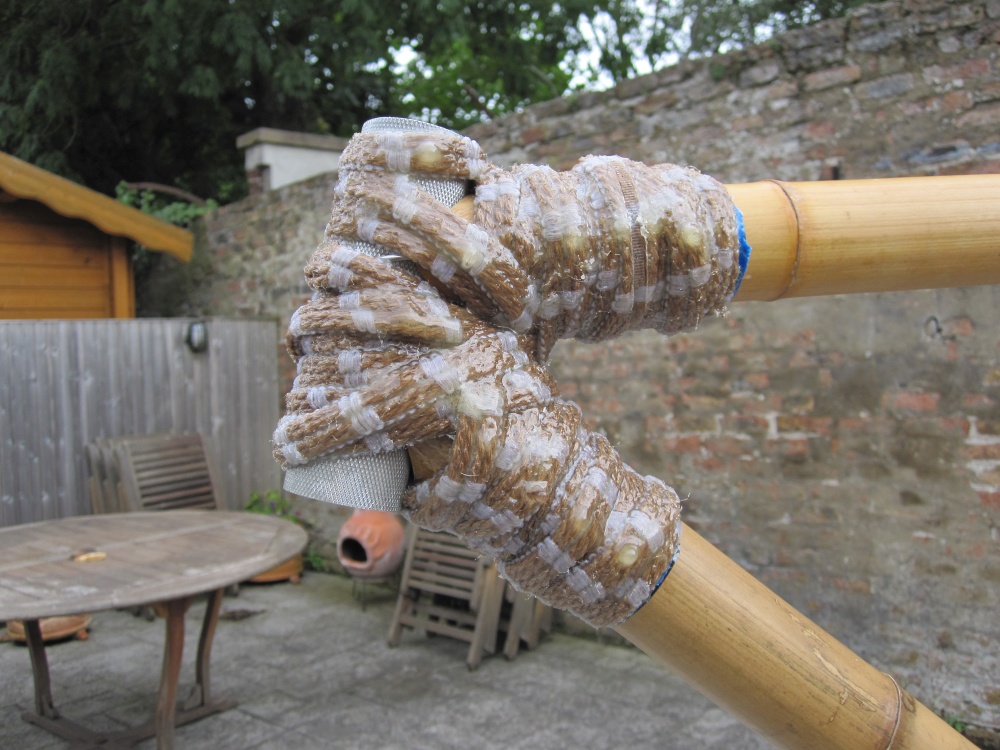
First view of the completed frame in the fresh air
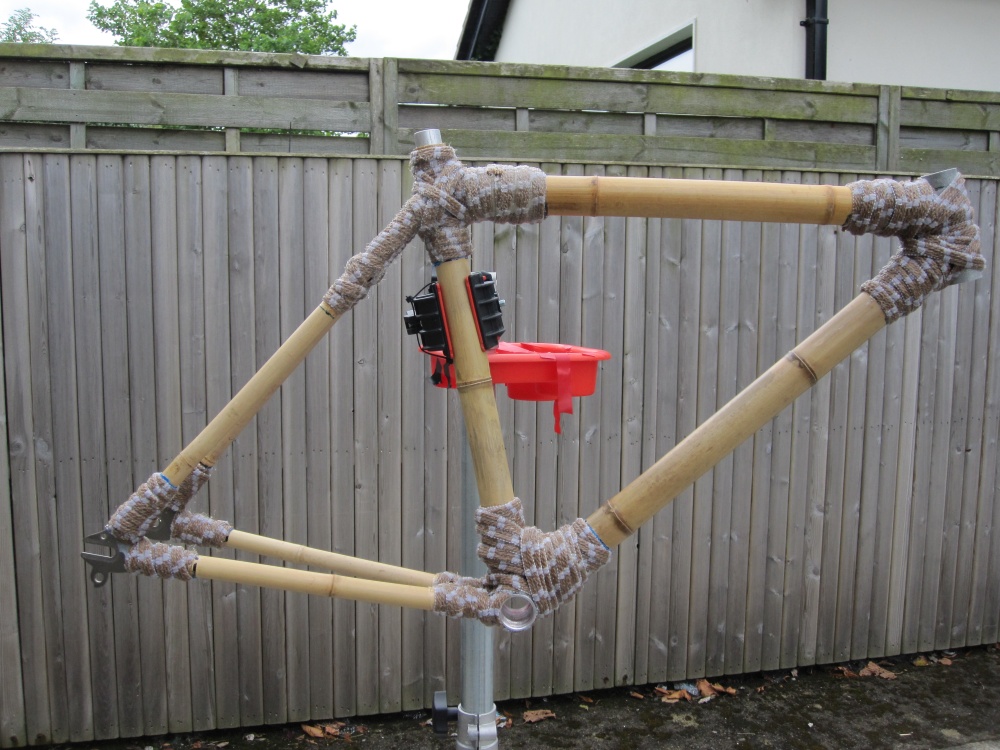
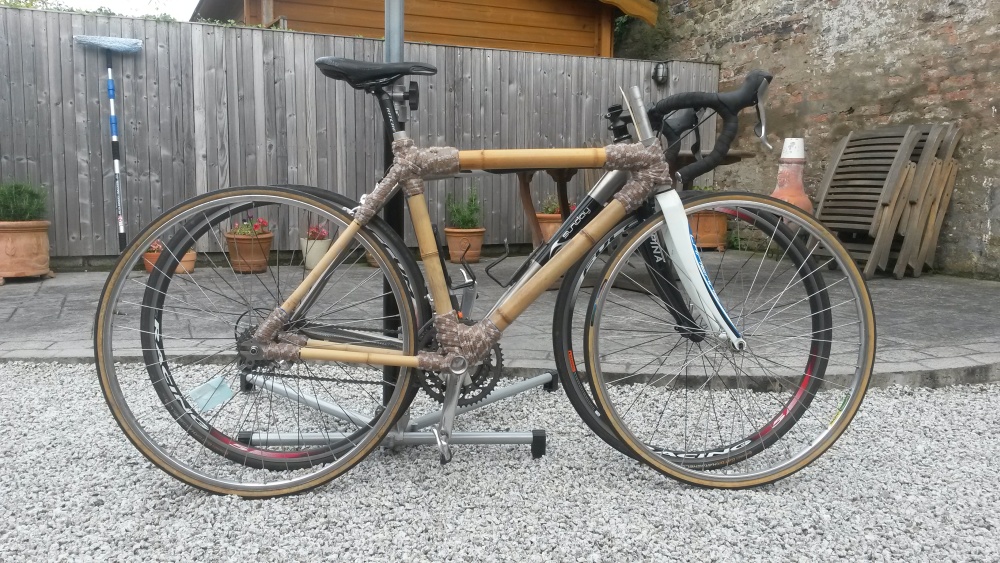
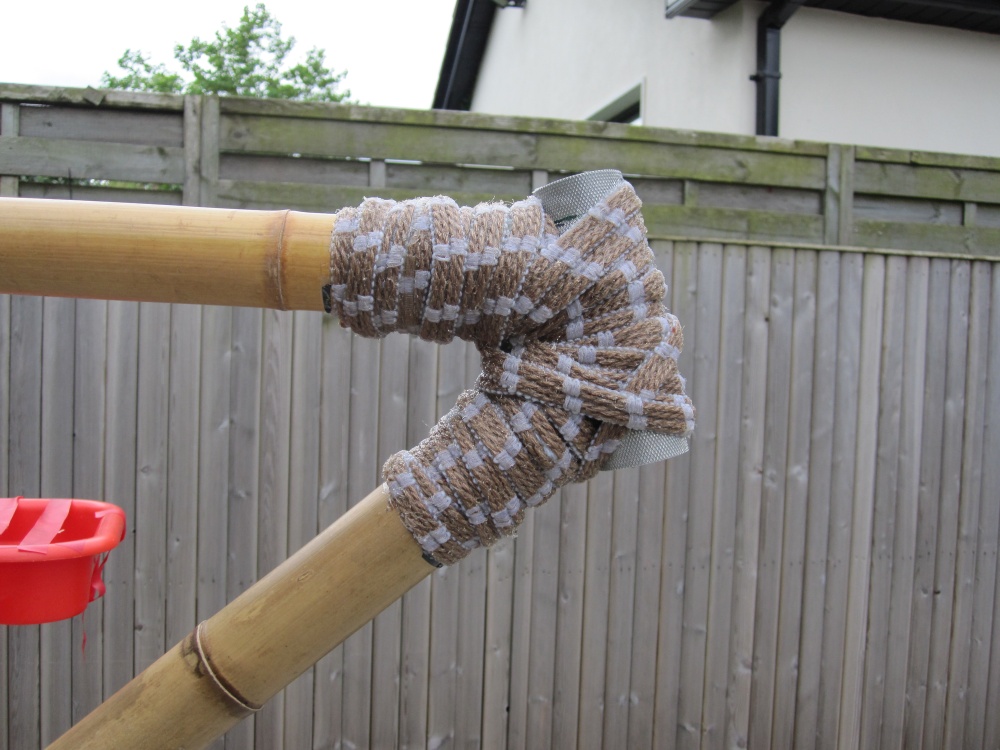
The good side (or top side when in the jig

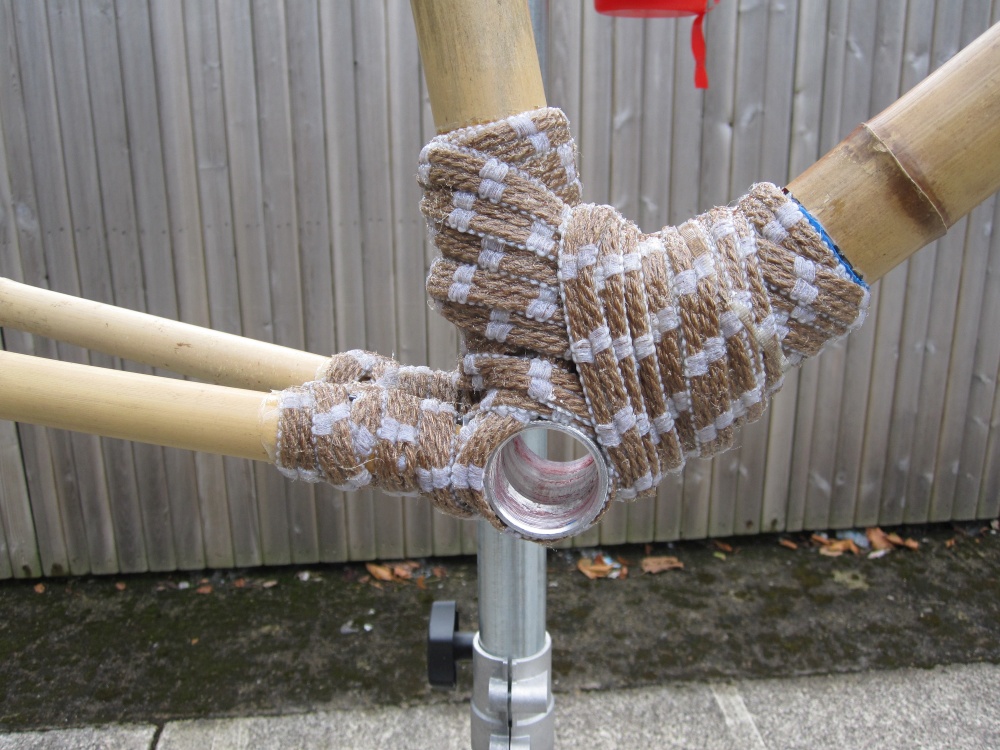

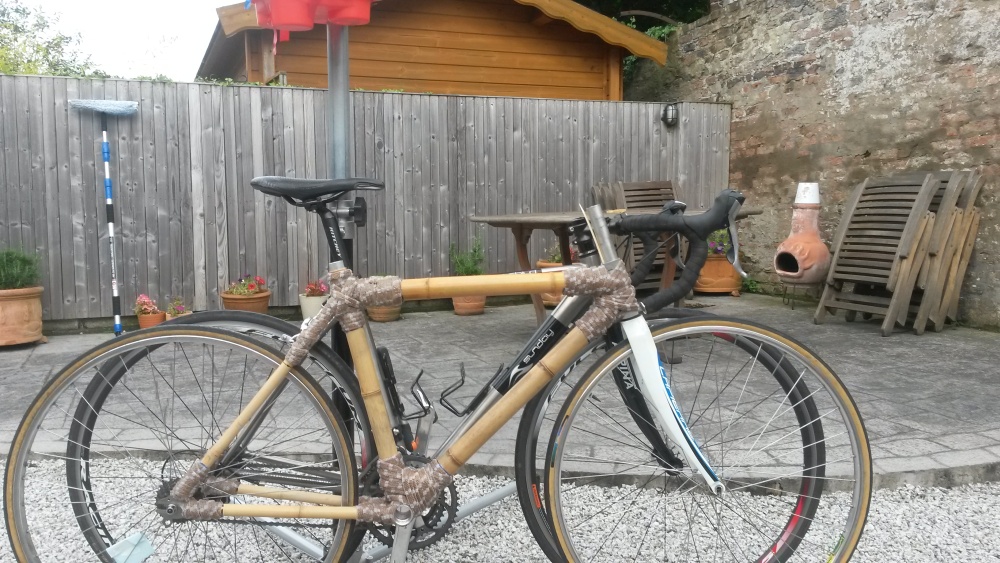
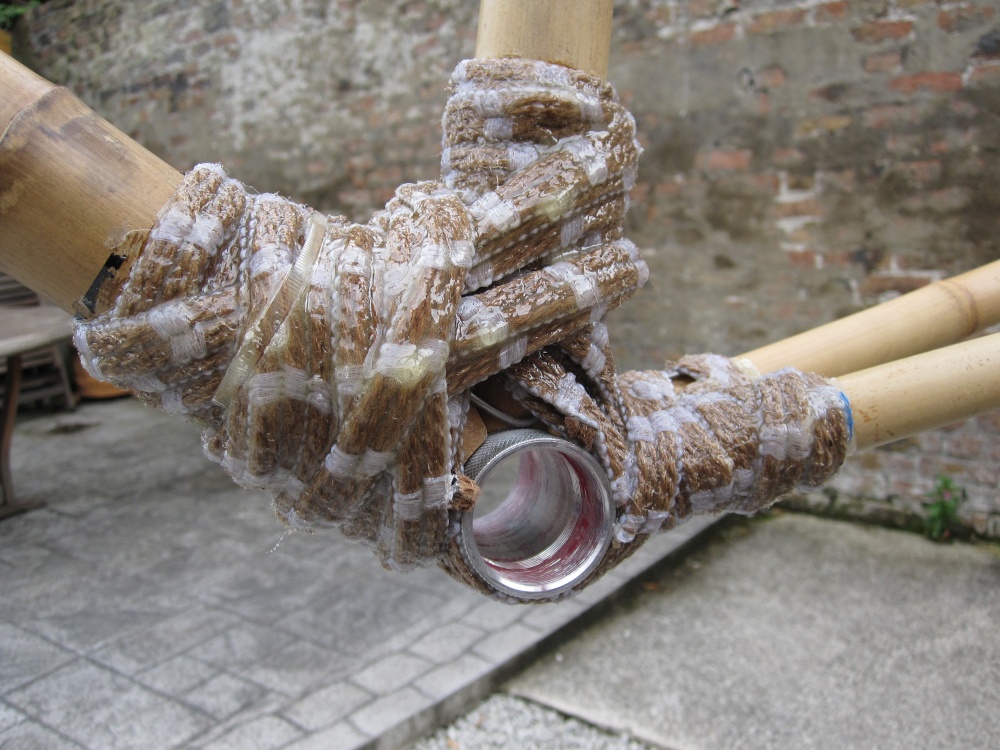
The not so good side - bottom side when in the jig
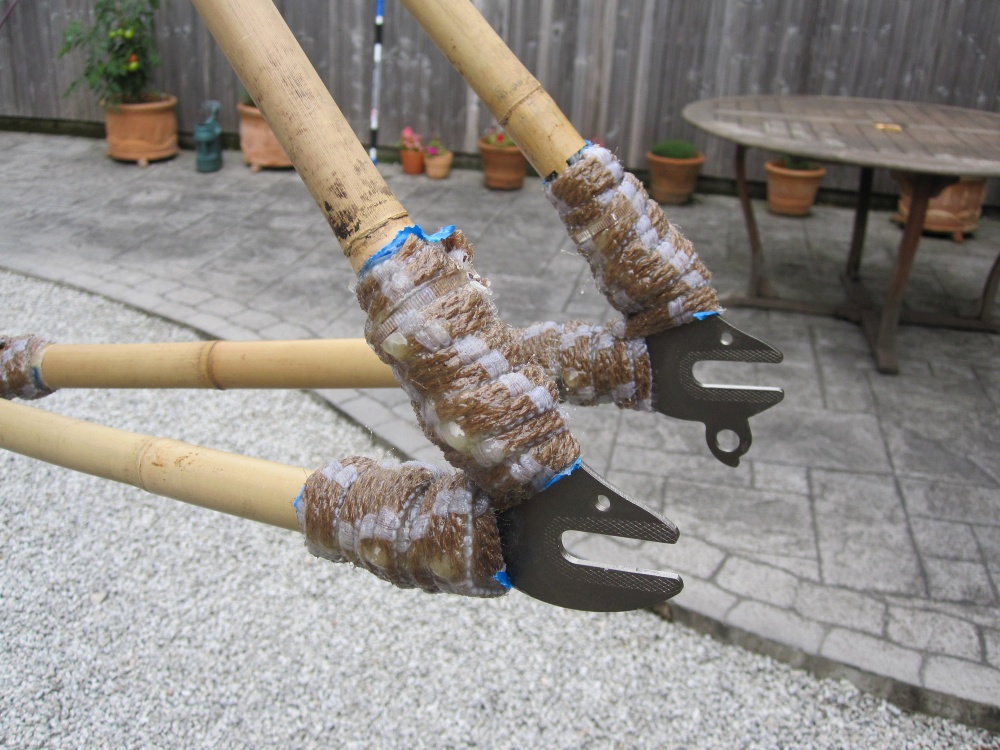
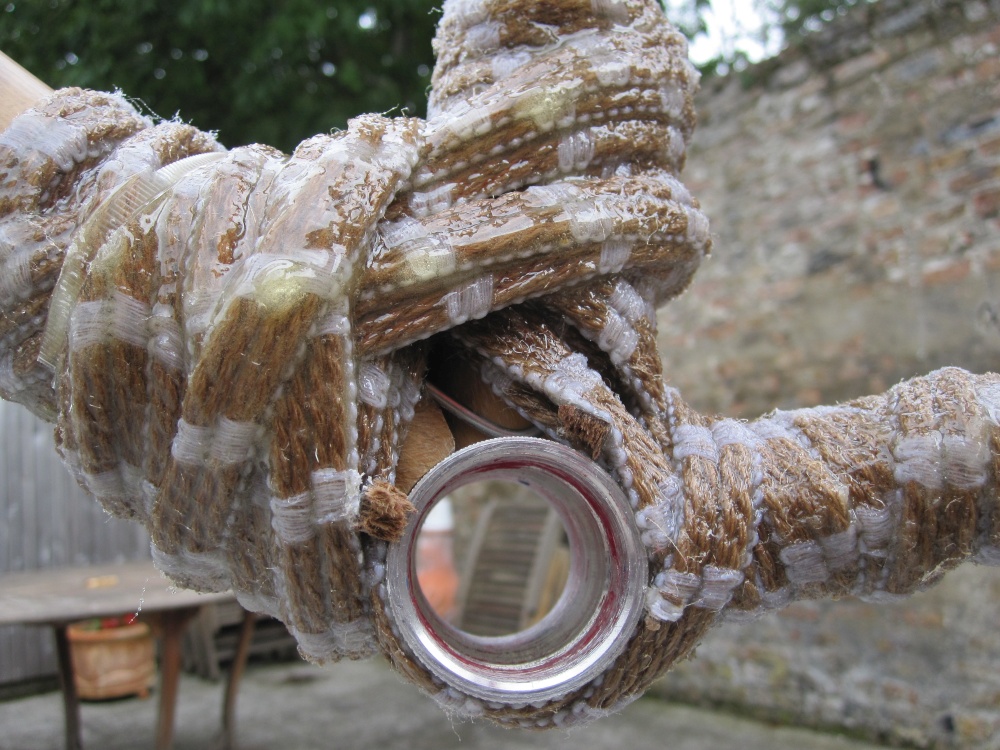

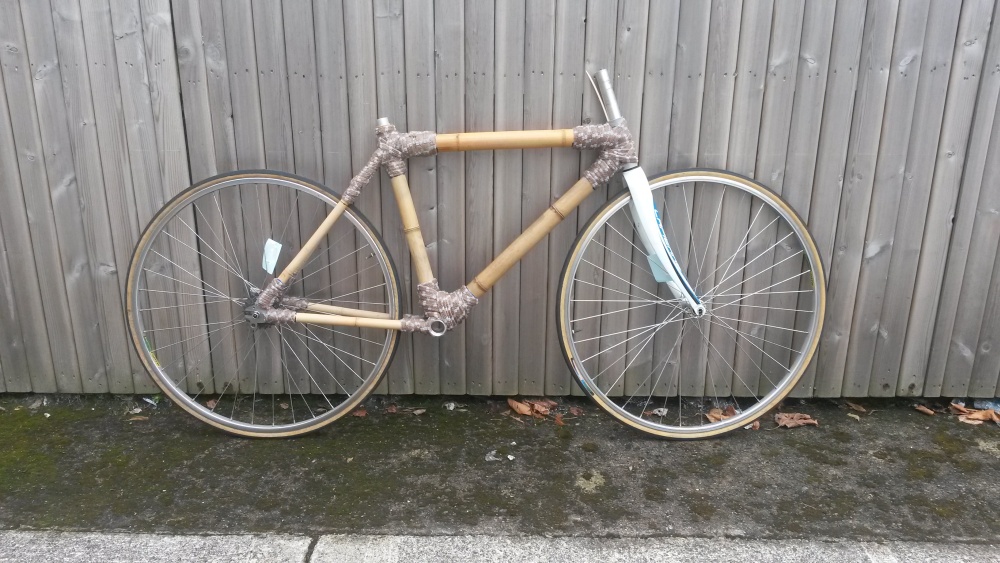
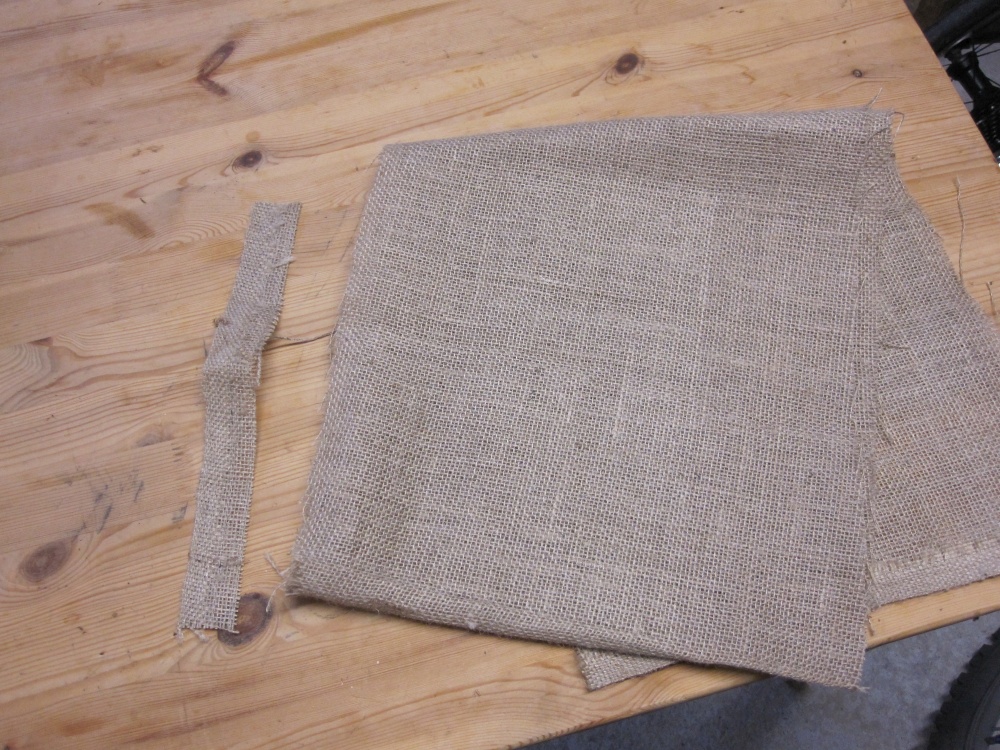
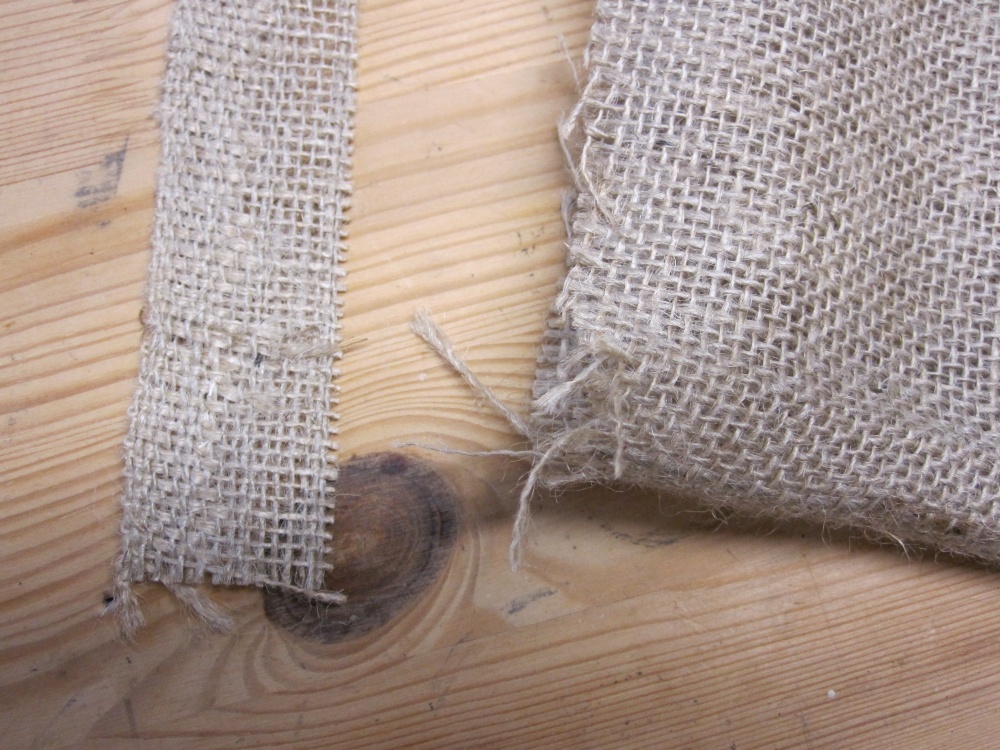
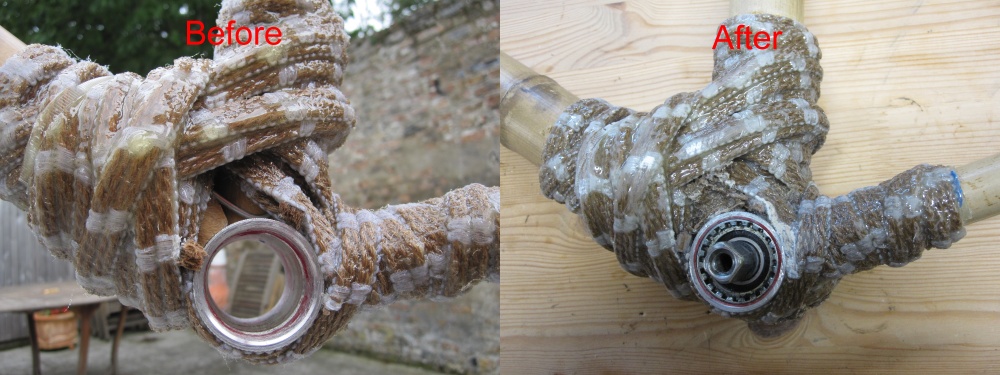
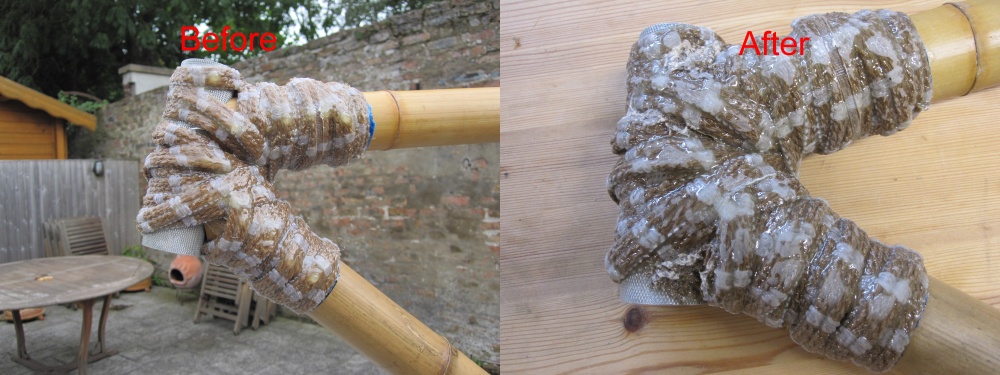
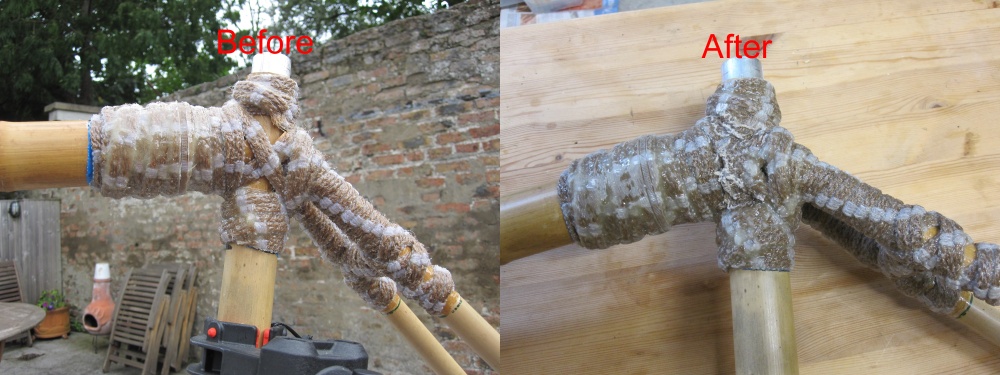
However after patch up things don't look too bad - actually they look pretty ok. I bought some hessian (sack cloth) material, as I couldn't find hemp, and quickly mixed some of my remaining epoxy resin and hardener, soaked the hessian, and using it like caulking, packed it into some of the more obvious gaps. Left it to dry/cure and then filed and sanded everything to get rid of general rough edges, the rough caulking edges, the excess hemp rope (protruding into BB and headset areas), the excess epoxy runs/drips, and just some general smoothing.
Some final pictures of the patch up results including some before and after shots
Contact me by email : alan_cowzer@hotmail.com
Contact me through Facebook : My Peugeot CFX-10 Facebook Page
© 2018- 2026 Alan Cowzer